Back to Event Manager Main Menu
Creating a Task
Tasks in Event Manager allow you to assign the work that needs to be done for events to the right people. *Note: If you do not currently have access to this feature, please contact your Sales Representative or Client Services for more information.
Watch the Video Tutorial

Trying to submit a task as a work request? Check out our integrations with MaintenanceDirect and Asset Essentials!
How to Create a Task
You can create a standalone task, as explained below. Additionally, you can create a task from the event request form, or use Location Setups to create tasks automatically from events when the appropriate setup is selected.
- Click Tasks from the side navigation menu to open the task list.
- Click Add a Task to open the Create a Task window.
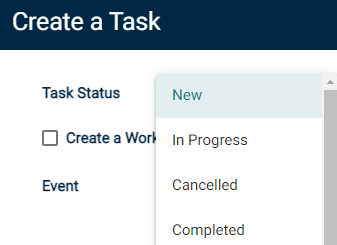
- Select the Task Status from the drop-down menu. *Note: The task will default to the status of New.
- If you need to associate this task with an event, begin typing in the Event field and select the event.
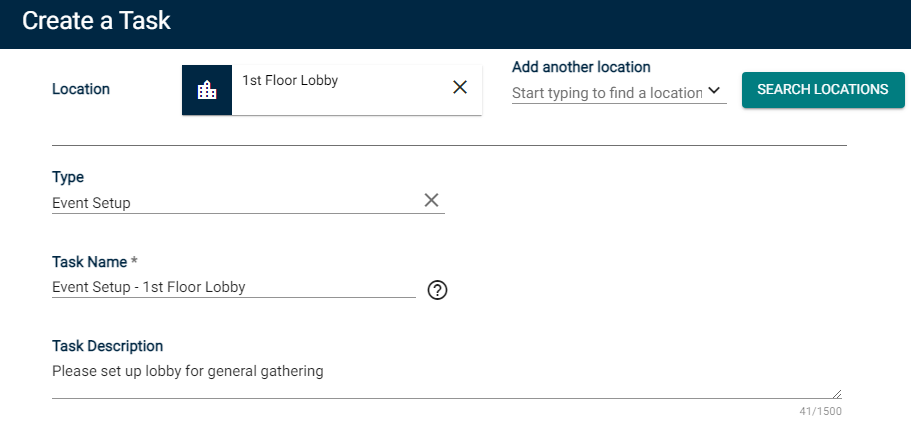
- If you'd like to associate this task to a location, click Search Locations next to Location.
- In the window that appears, search or filter the list and check the box next to each location needed for this task.
- Click Save.
- Select a task Type from the drop-down menu.
- Enter a Task Name.
- Enter a Task Description. This should be used to provide more detailed information that will give the task assignee the specific instructions for the task. *Note: There is a limit of 500 characters for this field.
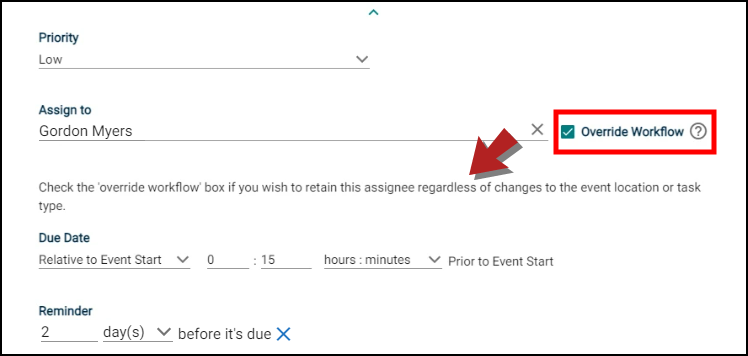
- Select the Priority for this task.
- Select a name from the Assign to drop-down menu to assign a user to this task. *Note: If you have selected a user as the default assignee for a specific task type, their name will autopopulate here, though the assignment can be changed.
- If you check the Override Workflow box, the assignee will remain the same even if the event location is changed. This function is reserved only for users with the Service Provider or the Event Admin permission. Without either permission, you will not have the option to change the task assignee.*Note: When this box is unchecked, it will allow the task to be reassigned to the appropriate assignee based on the default workflow if the event's location is changed.
- Select a Time and Date under Due Date for the task to be done by. *Note: If this task has been tied to an event, you have the option to set the task due date relative to the event start date.
- The Reminder will be set automatically based on your Task Settings, but can be easily adjusted or removed. *Note: In addition to the email reminder set here, the assignee will also receive an initial email notification informing them of the task being assigned to them.
- Enter the number of days or hours before the task is due for the email notification to go out.
- There are two ways to attach a file or image to the task:
Upload an attachment by locating the file on your computer, or pasting the attachment URL in the text field.
- Choose From Library to find an attachment that has been added to the Event Manager media library.
- There are two Save options available:
- Click Save to finalize your changes.
- Click Save & Add to finalize your changes and begin creating a new task.

