Back to Event Manager Main Menu
Customizable Event request Form Setup
The event request forms your organization uses can be customized according to what each site needs.
Watch the video tutorial

To access the Event Request Forms page:
- Log on to the Event Manager application.
- Navigate to Dashboard > Settings.
- On the Advanced Settings tile, click the Event Request Forms option.
Creating an Event Form
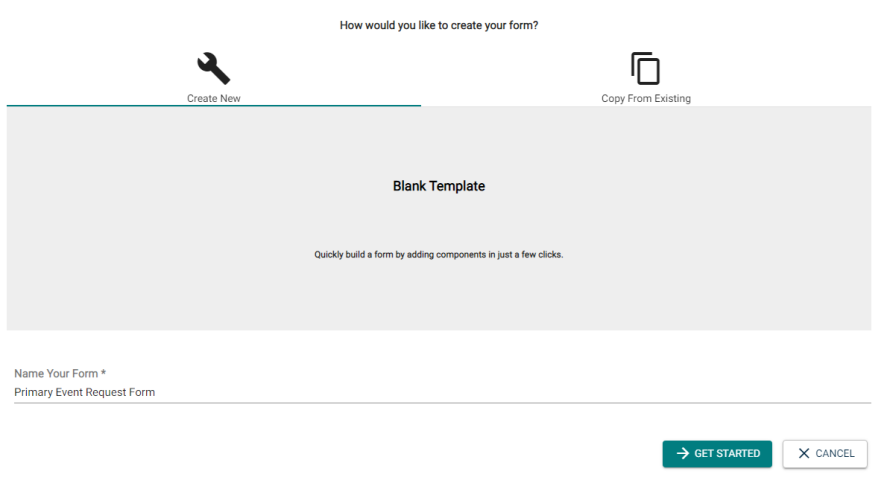
- Click on the Create a Form button.
- Choose from one of the following options:
- Create New: Create a brand new event form from scratch.
- Copy From Existing: Use an existing event form as a starting point and make any changes needed before saving.
- Enter a name for the event form, then click Get Started.
Form Settings
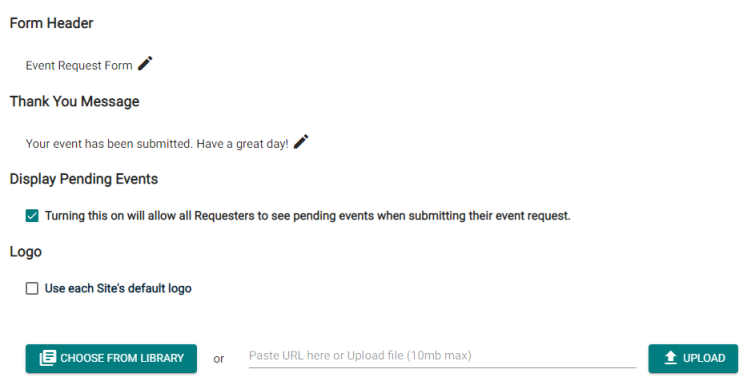
- Click on the Form Settings button to make customizations to the Form Header, Thank You Message, Pending Event settings, and Logo for this event form.
- Click on the pencil icon (
 ) under Form Header to enter the header for the event request form.
 - Click on the pencil icon ( ) under Thank You Message to enter the message that will display when a requester submits a request.
- Check the box under Display Pending Events if you would like requesters to be able to view pending events in the date and time selector on the event request form.
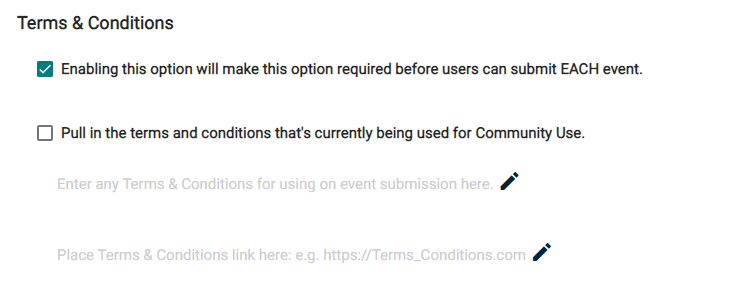
- Under Terms & Conditions, check the box to require each person submitting an event using this form to agree to the terms and conditions.
- Check the box if you would like to pull in the terms and conditions that's currently being used for Community Use. This will auto-populate the Terms & Conditions and Terms & Conditions Link fields if they are defined for the Community Portal.
- Click the first pencil icon under Terms & Conditions ( ) to enter your terms and conditions.
- Click Save.
- Click the second pencil icon under Terms & Conditions ( ) to enter the URL that you would like users that read the terms and conditions to be able to navigate to, if needed.
- Click Save.
- Click the first pencil icon under Terms & Conditions (
- Click Save at the bottom of the page to finalize any changes you have made to the form settings.
Adding form components
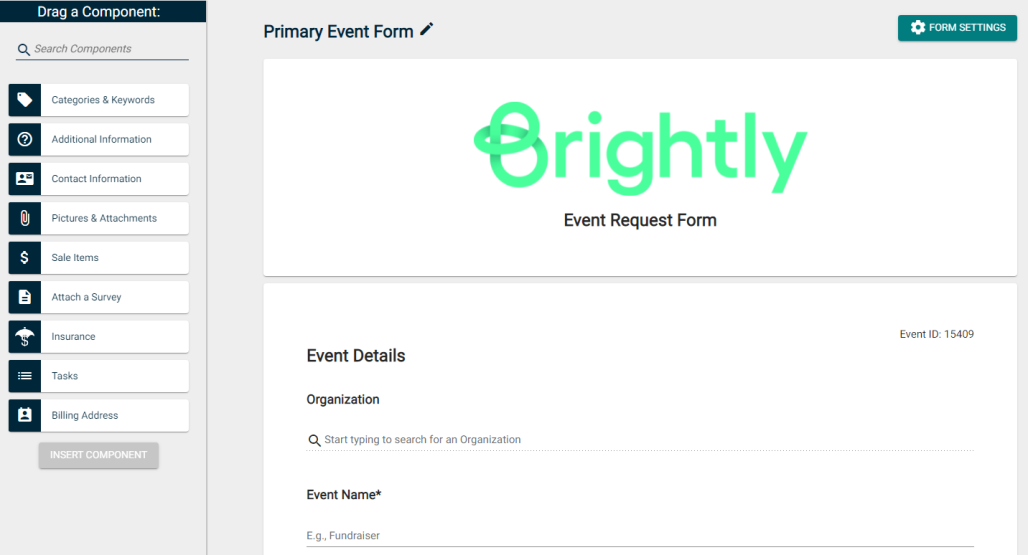
- If you copied an existing event form, all components that were included on that form will show on the screen. If you chose to create a new event form, only the required components of Event Details and Location & Time will show here.
- To add a new component to the form, click on the component in the list to the left and drag it to the appropriate place on the event form.
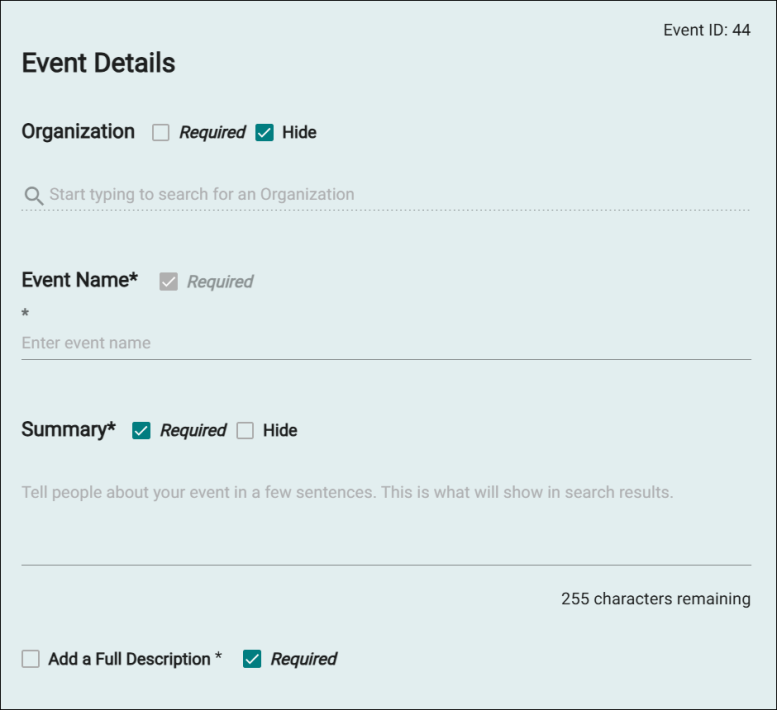
This is a required component on any event form. Event Name and Summary are required fields by default.
NOTE To enable public event submission for Community events, ensure that in the Event Details section the Required check box is cleared. This will enable requestors who are not associated with an organization to submit event requests. To hide the organization field on the community event form, select the Hide check box. Additionally, you must edit the community site configuration settings and select the Allow Public Event Submission check box. For more details click here.
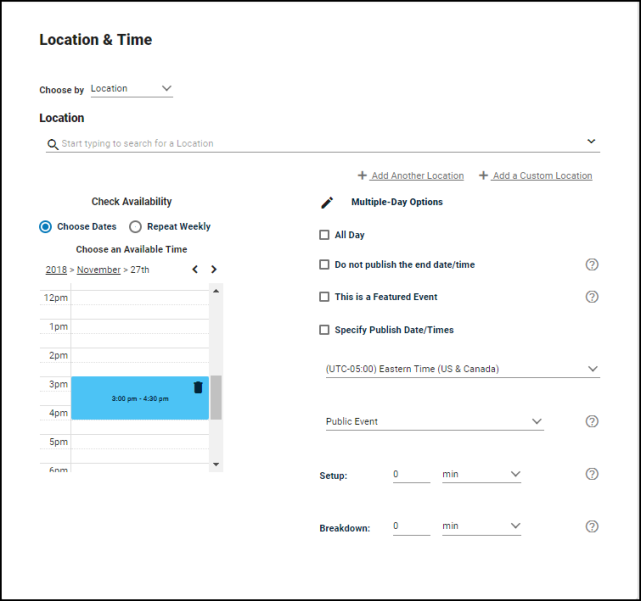
This is a required component on any event form. The user can choose to search by location, or search by the date and time needed.
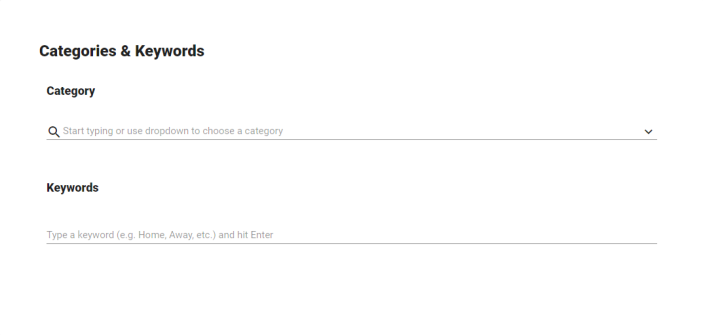
This allows users to apply a Category or Keyword to the event, which will help people search for the event.
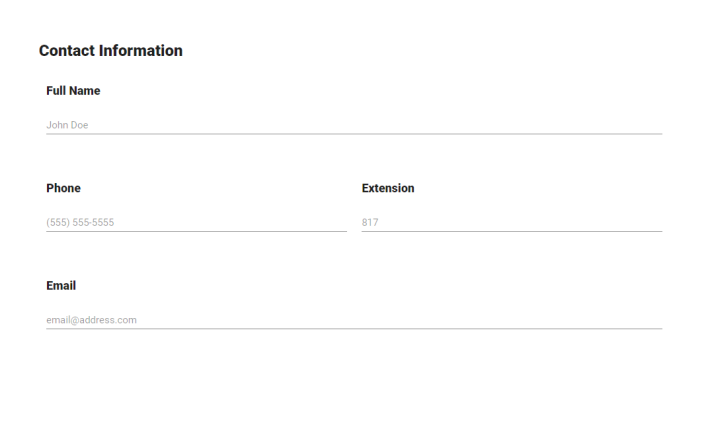
This component allows a user to enter information for the point of contact for an event.
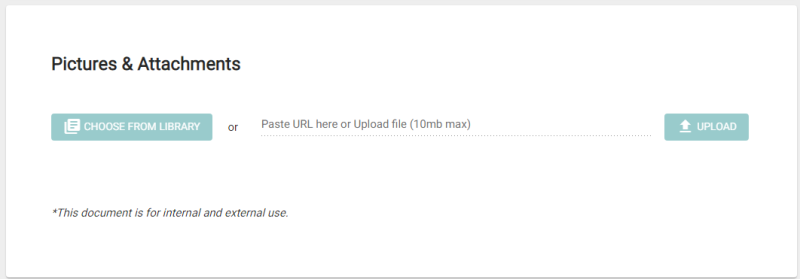
If this component is included on the event form, a user can add an image or another type of attachment to the event.
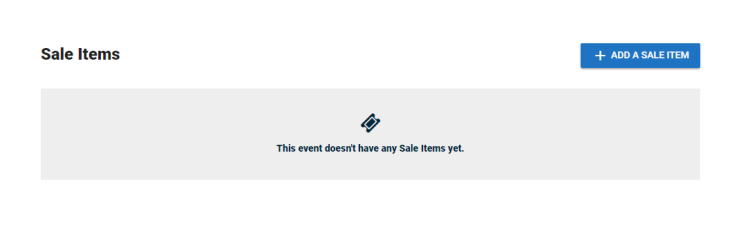
This component allows a user to attach a sale item or registration to the event.
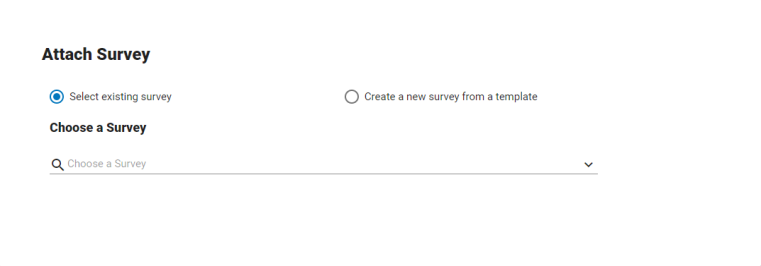
This will allow a user to attach a survey to the event. They can select the specific survey as well as determine when the survey should be active.
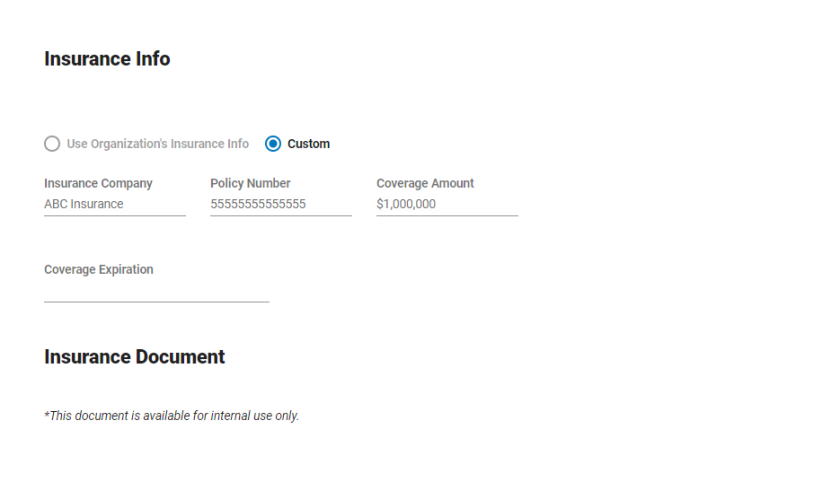
This will allow a user to add insurance to the event. They can choose to use their organization's insurance information or enter custom insurance information. You can make this component required to submit an event. Additionally, you can make uploading an insurance document required, if needed.
This will allow a user to add tasks to the event. They will be able to define the details of the task, such as the task type, who it is assigned to, and when it needs to be completed.

- The components can be reordered or removed from the form by hovering over the component and selecting Drag or Remove.
- Click Save to add this event form to the list of forms. *Note: For this form to be used at a particular site, it must be assigned to the site from the Event Request Forms list.
Managing event forms
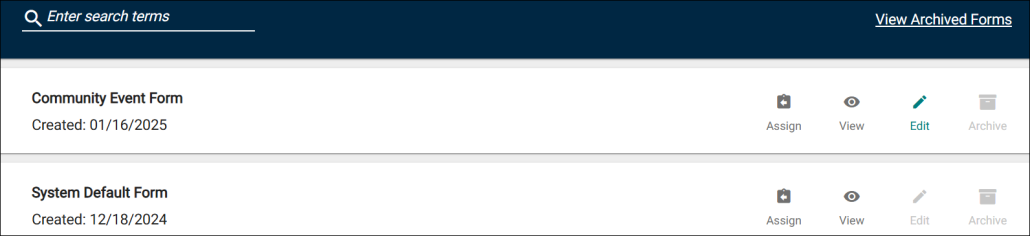
The Event Request Forms page displays any event forms that have been created.
- Assign: Click here to assign this event form to the appropriate sites.
- View: Click here to view the public facing event form.
- Edit: Click here to edit the event form. The System Default Form is not editable, but any form that has been added to your account can be edited at any time.
- Archive: Archiving an event form will remove it from this event form list, make it unavailable for use, and remove it from the list of event forms available to copy when creating a new event form.
- To access archived event forms, click the View Archived Forms link at the top of the event forms list. An archived form can be restored at any time.
- To access archived event forms, click the View Archived Forms link at the top of the event forms list. An archived form can be restored at any time.
