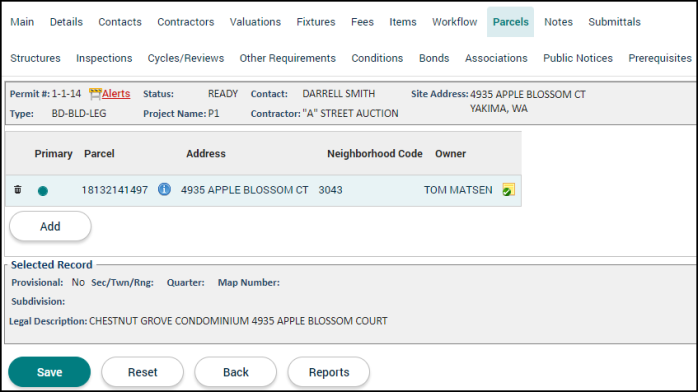
Permitting: Parcels tab
The Parcels tab allows you to view any parcels of land associated with the permit application.
Adding a parcel
A parcel may already be associated with this permit if it was included when the permit was initially created, however you can associate additional parcels to the permit if necessary.
- Click the Add button. An additional row will be added to the list.
-
Begin typing or click the magnifying glass icon (
 ) to select a Parcel from the search list.
 - You will see a summary of the parcel's details in the selected record section at the bottom of the page. *Note: The selected parcel appears with a gray background.
- Click Save.

Creating a new parcel
- Click the Add button. An additional row will be added to the list.
- Click the magnifying glass icon (
 ) on the newly created row.
 - Click the Create button.
- Fill out the required fields and any additional information in the New Parcel window, and click Create.
- The newly created parcel will appear in the list of parcels. You will see a summary of the parcel's details in the Selected Record section at the bottom of the page.
- Click Save.
Managing parcels
- Selecting a Primary Parcel: If the permit has multiple parcels, select which parcel in the list should be designated as the Primary Parcel.
- If the Primary Parcel is changed, select to Keep Current Site Address or to Copy Parcel Address in the window that displays, then click OK.
- Editing a Parcel: Click the information icon (
 ) next to the parcel record to view or make any changes to the parcel's information.
 - Adding a Note: Click the sticky note icon (
 ). These notes can include links and attachments such as documents, images, or spreadsheets.
 - Deleting a Parcel: Click the trash can icon (
 ) next to the parcel record. This will remove the association between the parcel and the permit, but does not delete the parcel from SmartGov.
 - Click Save at the bottom of the page after performing any of these actions.
