Permitting: Bonds tab
Bonds can be set for a permit to ensure that the work is completed.
Adding a bond
- Click Add.
- Begin typing or click the magnifying glass icon (
 ) and select the Bond Type.
 - Enter the Bond Number if needed.
- Enter the Bond Amount, the Issued date, and Expires date. *Note: These are required fields.
- Click the Save button.
- Click the people icon (
 ) to add Surety and Principal Contacts to the bond.
- In the Assign Surety and Principal window, begin typing or click the magnifying glass icon () to select contacts for both the Surety Contact and the Principal Contact.
- Click Save.
- In the Assign Surety and Principal window, begin typing or click the magnifying glass icon (
- Click the sticky note icon (
 ) to add notes to the bond. These notes can include links and attachments, such as documents, pictures, or spreadsheets.
 - To remove a bond, click the trash can icon (
 ). The bond will appear with a strike through mark. Click Save to remove the bond from the permit.
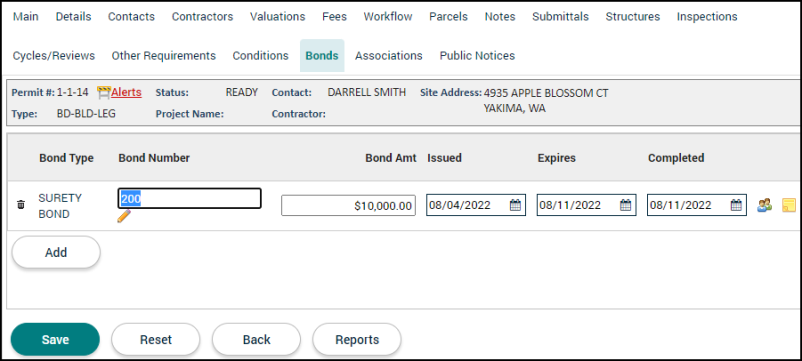
Completing a bond
When you confirm that the work on the permit has been done, you can complete the bond to release it.
- From the Bond tab, enter the date or click the calendar icon (
 ) to select the Completed date.
 - Click Save.
