Lookup values
Lookup Values represent common options you will see in various drop-down and field menu choices throughout the entirety of SmartGov.
Editing lookup values
- Click on Administration from the navigation menu.
- Select Jurisdiction Setup.
- Click on Lookup Values. This will open the list of possible Lookup Values that can be edited.
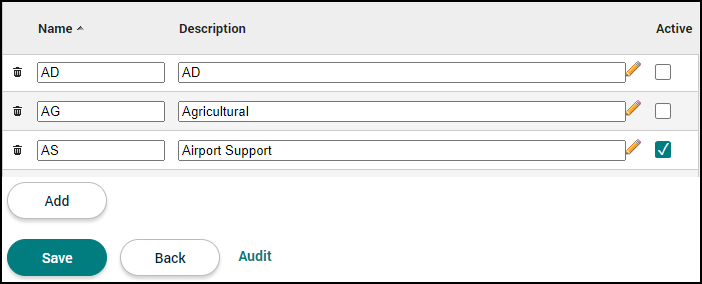
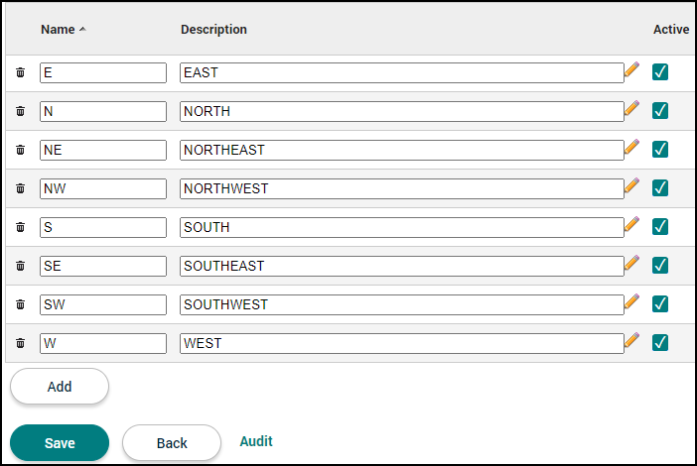
The Address Direction values are the direction designators at the beginning or end of a street address.
- Click Address Direction from the list of Lookup Values.
- Click Add.
- Enter a Name for the Address Direction in the Name field.
- Use the Description field to describe the direction.
- Repeat this process to add any additional Address Directions.
- Ensure the Active box is checked if you wish for the Address Direction to display in the list.
- Click Save.
- Click the trash can icon (
 ) to delete an Address Direction from the list.
The Address Street values are recognized street names and their corresponding zip codes.
- Click Address Street from the list of Lookup Values.
- Click Add.
- Enter the street name in the Name field.
- Use the Description field to describe the Street.
- Enter the Zip Code that corresponds with the Street if applicable.
- Repeat this process to add any additional Address Streets.
- Ensure the Active box is checked if you wish for the Address Street value to display in the list.
- Click Save.
- Click the trash can icon () to delete an Address Street from the list.

The Address Street Type values are types of streets. Examples of an Address Street Type may be Road or Ave.
- Click Address Street Type from the list of Lookup Values.
- Click Add.
- Enter the abbreviated Street Type in the Name field.
- Use the Description field to describe the Street Type.
- Repeat this process to add any additional Street Types.
- Ensure the Active box is checked if you wish for the Address Street Type to display in the list.
- Click Save.
- Click the trash can icon () to delete an Address Street Type from the list.

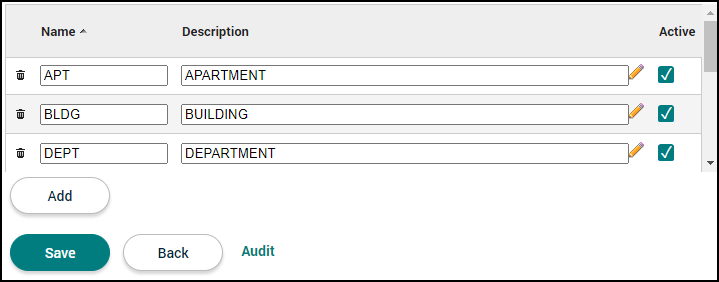
The Address Suite Type value are types of suites. Examples of an Address Suite Type are Apt and Unit.
- Click Address Suite Types from the list of Lookup Values.
- Click Add.
- Enter the abbreviated Suite Type in the Name field.
- Use the Description field to describe the Suite Type.
- Repeat this process to add any additional Suite Types.
- Ensure the Active box is checked if you wish for the Address Suite Type to display in the list.
- Click Save.
- Click the trash can icon () to delete an Address Suite Type from the list.
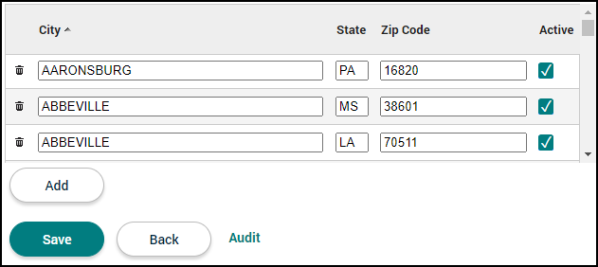
The Address Zip Code values are recognized zip codes with their corresponding city and state.
- Click Address Zip Codes from the list of Lookup Values.
- Click Add.
- Enter the City, State abbreviation and Zip Code in the corresponding fields.
- Repeat this process to add any additional Zip Codes.
- Ensure the Active box is checked if you wish for the Zip Code to display in the list.
- Click Save.
- Click the trash can icon () to delete an Zip Code from the list.
The Block Type values are block types that can be associated with a parcel.
- Click Block Type from the list of Lookup Values.
- Click Add.
- Enter the Block Type in the Name field.
- Use the Description field to describe the Block Type.
- Repeat this process to add any additional Block Types.
- Ensure the Active box is checked if you wish for the Block Type to display in the list.
- Click Save.
- Click the trash can icon () to delete a Block Type from the list.

The Building Code Edition values are descriptions and names of codes.
-
Click Building Code Edition from the list of Lookup Values.
-
Click Add.
-
Enter the code in the Name field.
-
Use the Description field to describe the field.
-
Repeat this process to add any additional Building Code Editions.
-
Ensure the Active box is checked if you wish for the Building Code Editions to display in the list.
-
Click Save.
-
Click the trash can icon (
) to delete a Building Code Edition from the list.
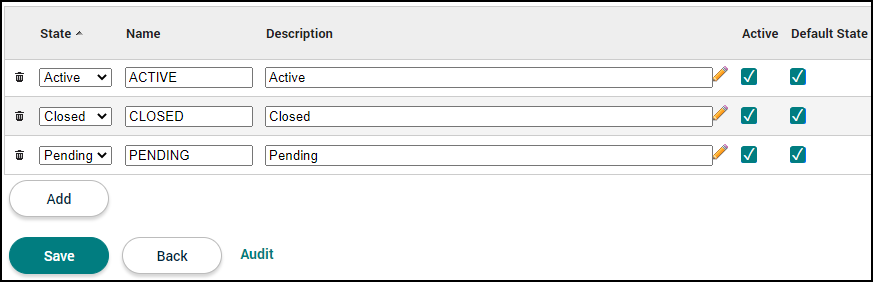
This lookup value refers to the status of a business account. Each status must be tied to a process state. You can have multiple statuses tied to a single process state, however one status must be set as the default for the process state. *Note: You may not have access to this feature at this time.
- Click Business Process Status from the list of Lookup Values.
- Click Add.
- Select the appropriate State from the drop-down menu.
- Enter the display name for the status in the Name field.
- Enter a Description for the status.
- Ensure the Active box is checked to display the record in the list of available business process statuses.
- Check the Default State box to make this status the default display option for the selected status state.
- Repeat this process to add any additional records.
- Click Save.
- To remove a business process status from the list, click the trash can icon ().
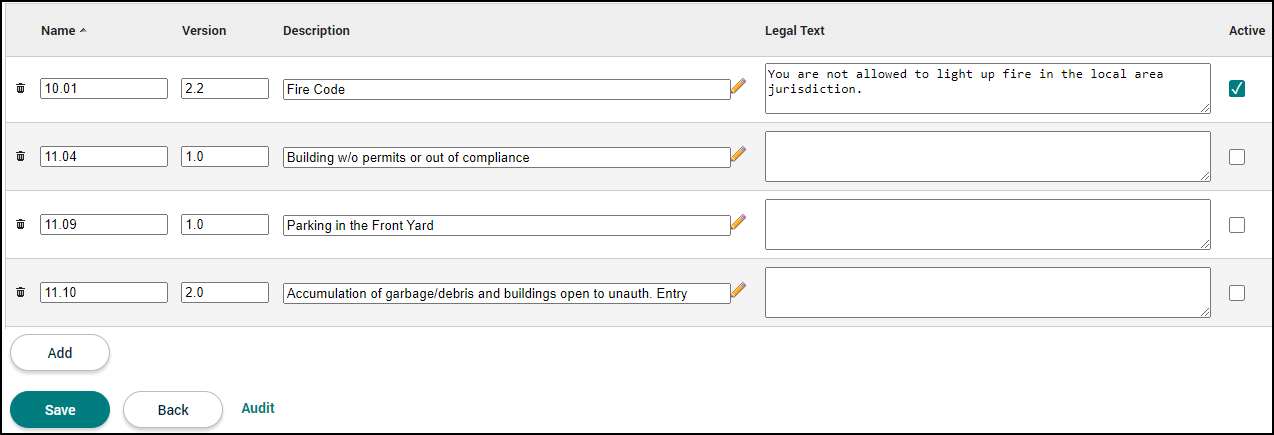
The Code References values are descriptions and names of codes.
- Click Code References from the list of Lookup Values.
- Click Add.
- Enter the Code in the Name field.
- If applicable, enter the Version of the specific Code in the Version field.
- Use the Description field to describe the Code.
- Enter any Legal Text that corresponds with the code in the Legal Text field.
- Repeat this process to add any additional Code References.
- Ensure the Active box is checked if you wish for the Code Reference to display in the list.
- Click Save.
- Click the trash can icon () to delete a Code Reference from the list.
The Contact Roles values list out the name and description of roles applicable to contacts and contractors in SmartGov.
- Click Contact Role from the list of Lookup Values.
- Click Add.
- Enter the Contact Role in the Name field.
- Use the Description field to describe the Contact Role.
- Repeat this process to add any additional Contact Roles.
- Ensure the Active box is checked if you wish for the Contact Role to display in the list.
- Click Save.
- Click the trash can icon () to delete a Contact Role from the list.

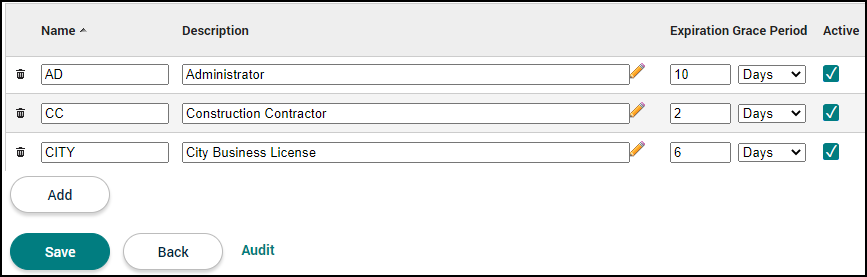
The Contractor License Type values detail the licenses that can be applied to Contractors as well as their expiration grace period.
- Click Contractor License Type from the list of Lookup Values.
- Click Add.
- Enter the abbreviated License Type in the Name field.
- Use the Description field to describe the Contractor License Type.
- Fill in the Expiration Grace Period for the Contractor License Type. Use the drop-down menu to select Days, Months, or Years.
- Repeat this process to add any additional Contractor License Types.
- Ensure the Active box is checked if you wish for the Contractor License Type to display in the list.
- Click Save.
- Click the trash can icon () to delete a Contractor License Type from the list.
The Email Type values list out the various email types that can be associated with a contact or contractor.
- Click Email Type from the list of Lookup Values.
- Click Add.
- Enter the type of email in the Name field.
- Use the Description field to describe the Email Type.
- Repeat this process to add any additional Email Types.
- Ensure the Active box is checked if you wish for the Email Type to display in the list.
- Click Save.
- Click the trash can icon () to delete an Email Type from the list.

The Lot Type values are lot types that can be associated with a parcel.
- Click Lot Type from the list of Lookup Values.
- Click Add.
- Enter the Lot Type in the Name field.
- Use the Description field to describe the Lot Type.
- Repeat this process to add any additional Lot Types.
- Ensure the Active box is checked if you wish for the Lot Type to display in the list.
- Click Save.
- Click the trash can icon () to delete a Lot Type from the list.

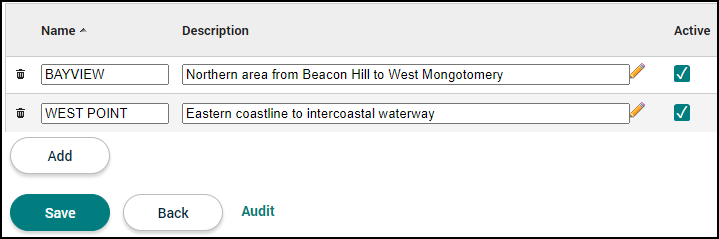
The Neighborhood values list the name and description of neighborhoods that can be associated with a parcel.
- Click Neighborhood from the list of Lookup Values.
- Click Add.
- Enter the Neighborhood in the Name field.
- Use the Description field to describe the Neighborhood.
- Repeat this process to add any additional Neighborhoods.
- Ensure the Active box is checked if you wish for the Neighborhood to display in the list.
- Click Save.
- Click the trash can icon () to delete a Neighborhood from the list.
The Payment Type values list out the various types of payment options when creating a receipt.
- Click Payment Type from the list of Lookup Values.
- Click Add.
- Enter the Payment Type in the Name field.
- Use the Description field to describe the Payment Type.
- If applicable, enter the External Payment Method.
- If applicable, check the Reference Required box.
- Check the Default box if the payment type should be the default type on a receipt.
- Check the Portal Online Payment box if the Payment Type will be the default type for the Citizen Portal. *Note: Most jurisdictions have this set to Online Payment.
- Check the Back Office Online Payment box next to all Payment Types that will be used in the back office.
- If applicable, click the magnifying glass icon (
 ) and select a Convenience Fee to be associated with the Payment Type.
 - Repeat this process to add any additional Payment Types.
- Ensure the Active box is checked if you wish for the Payment Type to display in the list.
- Click Save.
- Click the trash can icon () to delete a Payment Type from the list.

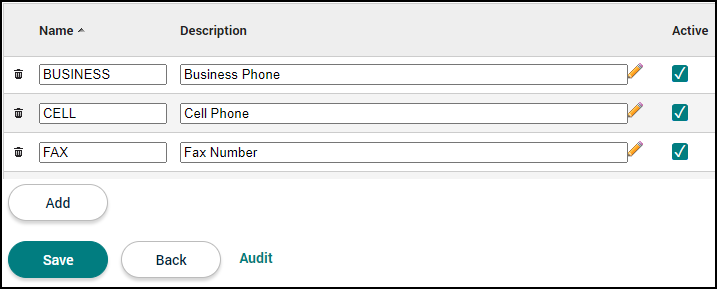
The Phone Type values list the types of phone numbers you can associate with a contact or contractor.
- Click Phone Type from the list of Lookup Values.
- Click Add.
- Enter the Phone Type in the Name field.
- Use the Description field to describe the Phone Type.
- Repeat this process to add any additional Phone Types.
- Ensure the Active box is checked if you wish for the Phone Type to display in the list.
- Click Save.
- Click the trash can icon () to delete a Phone Type from the list.
The Qualification values are the qualifications that may be associated with inspections and SmartGov users under the Inspector role.
- Click Qualification from the list of Lookup Values.
- Click Add.
- Enter the Qualification in the Name field.
- Use the Description field to describe the Qualification.
- Repeat this process to add any additional Qualifications.
- Ensure the Active box is checked if you wish for the Qualification to display in the list.
- Click Save.
- Click the trash can icon () to delete a Qualification from the list.

The Subdivision values list out the different subdivisions located within the jurisdiction.
- Click Subdivision from the list of Lookup Values.
- Click Add.
- Enter the Subdivision in the Name field.
- Use the Description field to describe the Subdivision.
- Repeat this process to add any additional Subdivisions.
- Ensure the Active box is checked if you wish for the Subdivision to display in the list.
- Click Save.
- Click the trash can icon () to delete a Subdivision from the list.

The Workflow Action Status values list the various statuses that can be applied to actions that are associated with workflow steps on a permit.
- Click Workflow Action Status from the list of Lookup Values.
- Click Add.
- Enter the Status in the Name field.
- Use the Description field to describe the Status.
- Select if the Status is an Initial status.
- Check the Approved box if the status denotes an action has been approved or completed.
- Repeat this process to add any additional Workflow Action Statuses.
- Ensure the Active box is checked if you wish for the Workflow Action Status to display in the list.
- Click Save.
- Click the trash can icon () to delete a Workflow Action Status from the list.

The Zone Type values list the name and description of the zones within the jurisdiction.
- Click Zone Type from the list of Lookup Values.
- Click Add.
- Enter the abbreviated Zone Type in the Name field.
- Use the Description field to describe the Zone Type.
- Repeat this process to add any additional Zone Types.
- Ensure the Active box is checked if you wish for the Zone Type to display in the list.
- Click Save.
- Click the trash can icon () to delete a Zone Type from the list.