Back to Event Manager Main Menu
Approving an Event
When a visitor or standard user submits a request, you can review and approve the request from your Events Dashboard or from your main Event Manager Dashboard.
Watch the Video Tutorial

How to Approve Events From the Event Manager Dashboard
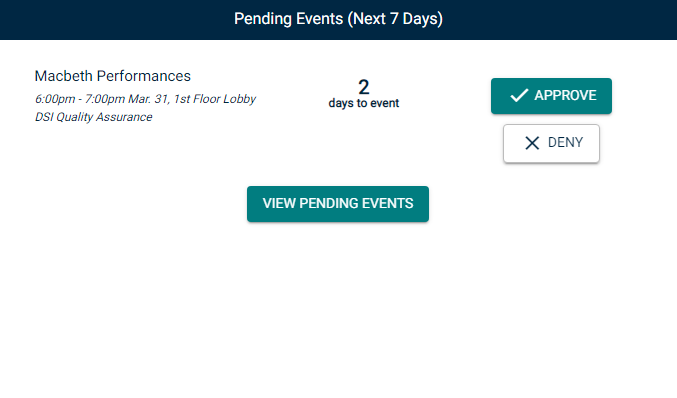
- From the home dashboard, scroll down to the Pending Events panel.
- If necessary, select a site from the drop down menu to filter the events you would like to approve.
- Click on the event name to open an event and review its details.
- To approve this event and publish it to the calendar, click the Approve button. Once published it will be visible to all calendar site visitors on the grid view, list view, summary view, and location view.
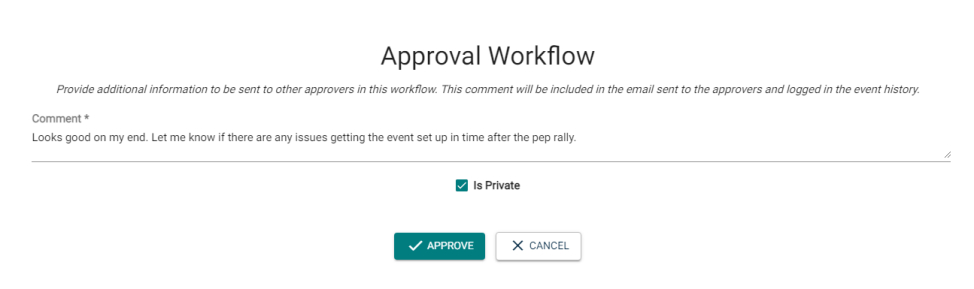
- Enter a Comment if you need to provide additional information that will be sent to other approvers in this workflow. The comment will be included in the email sent to the other approvers, and will be logged in the event history. *Note: This field may be required, depending on the configuration of your approval processes in Event Manager. Additionally, comments will not be emailed to other approvers if the workflow is set up to have all approvers approve, but in no particular order.
- The Is Private box will be checked by default, but can be unchecked if necessary. *Note: When this box is checked, only users with the Event Admin permission will be able to view the comment in the event history.
- Click Approve.
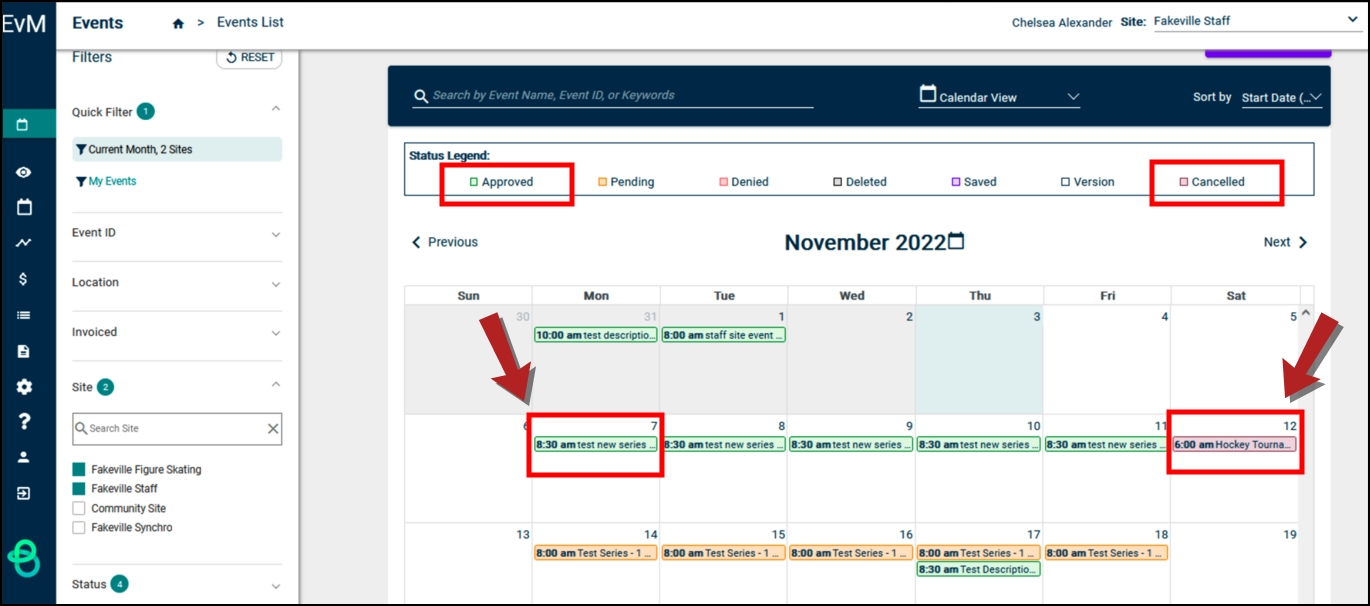
When viewing the calendar from the events list, the display color for approved events is green, while for canceled red.
- Enter a Comment if you need to provide additional information that will be sent to other approvers in this workflow. The comment will be included in the email sent to the other approvers, and will be logged in the event history. *Note: This field may be required, depending on the configuration of your approval processes in Event Manager. Additionally, comments will not be emailed to other approvers if the workflow is set up to have all approvers approve, but in no particular order.
- To reject this request and not publish it to the calendar, click the Deny button. When you click Deny, a pop-up is displayed, offering you the opportunity to enter a reason for denial. This message will be included in an email to the event requester informing them that their event has been denied. They have the opportunity to edit the event, and resubmit it for approval.
- If there are conflicts, a Resolve Conflict button will display instead of the usual Approve or Deny options. Click Resolve Conflict to open the event and make any necessary adjustments before continuing to approve the event.
How to Approve Events From the Pending Events List
-
Click on Events from the navigation menu, then select Pending Events.
Events Waiting for Your Approval
-
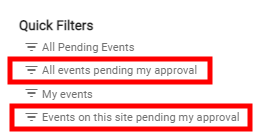
Click All events pending my approval or Events on this site pending my approval under Quick Filters.
-
All events requiring your approval will display in this list by default. If necessary, the list can be filtered by any of the available options, such as Location, Category, or Organization.
-
To approve this event:
-
Click on the Actions drop-down menu and select Approve.
-
Enter a Comment if you need to provide additional information that will be sent to other approvers in this workflow. The comment will be included in the email sent to the other approvers, and will be logged in the event history. *Note: This field may be required, depending on the configuration of your approval processes in Event Manager. Additionally, comments will not be emailed to other approvers if the workflow is set up to have all approvers approve, but in no particular order.
-
The Is Private box will be checked by default, but can be unchecked if necessary. *Note: When this box is checked, only users with the Event Admin permission will be able to view the comment in the event history.
-
Click Approve. A record of each approval will be added to the event history.
-
-
To review an event:
- If this is an individual event, click on the event's name and select Review Event in the panel that displays, or from the Actions drop-down menu.
- If this is an event series, click on the event's name and select Review Series in the panel that displays.
- Examine all appropriate sections of the event or event series.
- Click Actions from the side menu and select:
- Approve to sign-off on this event.
- Deny to deny this event and provide a note to the requester to inform them why the event was denied.
- Edit to make changes to this event.
Overriding the Approval Process on an Event
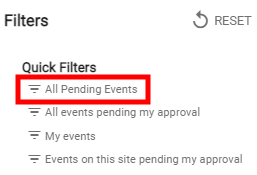
As a Tenant Admin, you will see an additional filter on the Pending Events List which will give you the ability to approve or deny events even if you are not in the approval process. All events needing approval will display, including any events waiting for your approval.
- Click All Pending Events under Quick Filters.
- All events requiring approval will display in this list by default. If necessary, the list can be filtered by any of the available options, such as Location, Category, or Organization.
- To approve this event:
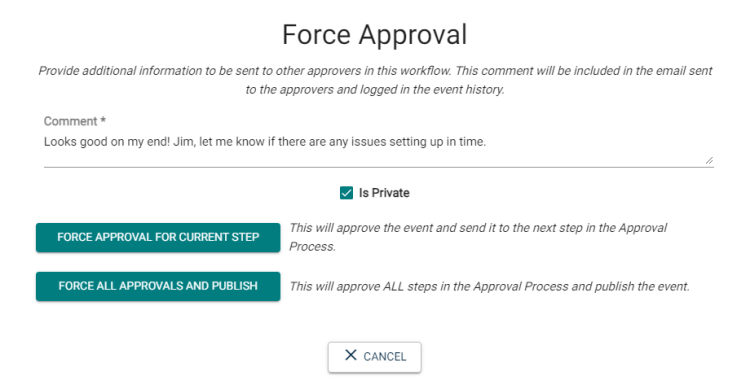
- Click on the Actions drop-down menu and select Force Approve.
- Enter a Comment if you need to provide additional information that will be sent to other approvers in this workflow. The comment will be included in the email sent to the other approvers, and will be logged in the event history. *Note: This field may be required, depending on the configuration of your approval processes in Event Manager. Additionally, comments will not be emailed to other approvers if the workflow is set up to have all approvers approve, but in no particular order.
- The Is Private box will be checked by default, but can be unchecked if necessary. *Note: When this box is checked, only users with the Event Admin permission will be able to view the comment in the event history.
- Click one of the buttons in the window that appears:
- Force Approval For Current Step to approve the event and send it to the next step in the approval process.
- Force All Approvals and Publish to approve and publish the event.
- To reject this event and not publish it to the calendar:
- Click on the Actions drop down menu.
- Select Deny.
- When you click Deny, a pop-up is displayed, offering you the opportunity to enter a Reason for denial. This message will be included in an email to the event requester informing them that their event has been denied. They have the opportunity to edit the event, and resubmit it for approval.
- To review or edit this event:
- Click on the Actions drop down menu.
- Click Review Event.
- The event form will open allowing you to edit as needed.
Viewing Approved Events on the Calendar From the Events List
When viewing the calendar from the events list, approved and canceled events are displayed in different colors. To view this:
-
Go to the side bar and click Events to expand the menu.
-
Click Events List to view events that have already been approved.
-
Choose the Calendar View feature.
-
Approved events will display in green and canceled events will display in red.