Back to Event Manager Main Menu
Sharing and Syndication
Sharing and Syndication allows you to display content from the Event Manager calendar on other websites or applications. Through sharing, you can create data sources to pull the calendar information into other enterprise applications, reporting sites, and RSS libraries. You can also define templates that control how your data is displayed when sent to another application. Supported output types include: Syndication (AJAX Javascript), RSS, XML, CSV, iCalendar (iCAL), and Quicklinks. Syndication lets you display calendar content on other areas of your webpage, in iframes, on internal portals, and other calendar applications.
Watch the video tutorial:

To access the Sharing and Syndication settings:
- Click on the gear icon (
 ) to access the Site Administration settings page.
 - Click on Sharing under Site Administration.
Adding a New Share
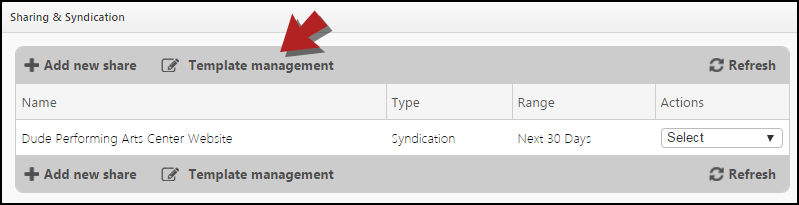
- From the Sharing & Syndication page, click Add new share.
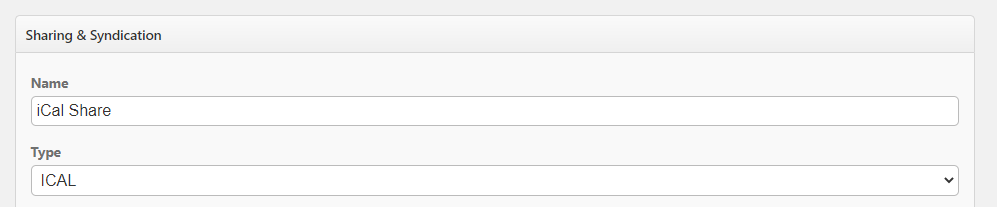
- Enter a Name for this share. A best practice suggestion is for the name to reflect the webpage that you will be putting the share on.
- Select the Type of share:
- Syndication: Select this option to receive a JavaScript code. This will return a block of script that can be embedded onto your webpages by your Webpage Administrator.
- RSS: Select this option to create an RSS feed. This will return a hyperlink (URL) that can be accessed via a web browser or RSS reader. Once you have navigated to the URL, you can add the RSS feed to any RSS reader like Microsoft Outlook, Live Bookmarks, or to your list of RSS feeds in your favorites.
- XML: Select this option to generate an XML export. XML is most commonly used in Open Source Content Management systems. This will return a hyperlink (URL) that can be accessed via a web browser, embedded onto your webpages, or accessed by a third party application to return a raw output of structured XML.
- CSV: Select this option to create a CSV export. This will return a hyperlink (URL) that can be accessed via a web browser, or accessed by a third party application (for example, Microsoft Excel) to prompt a download of a structured CSV file.
- iCal: Select this option to create an iCal export. This will return a hyperlink (URL) that can be accessed via a web browser, or accessed by a third party application (for example: Microsoft Outlook) to prompt a download of a structured iCal file.
- Quicklinks: Select this option to provide a URL for a filtered display of calendar events. This will return a hyperlink (URL) that can be accessed by a web browser. This link will display a filtered view of the calendar application (based on the keywords, categories, and locations selected) using the default layout and view type.
 Bright Idea:
You can customize your Sharing options in Event Manager to ensure that the data being shared meets your needs. We've provided links to some examples of "standard" shares for RSS, XML, CSV, and iCal.
- Select a Date Range: The date range will limit the amount of events shown in the share based on the event dates. You can enter a custom date range by choosing Specific Range from the drop down menu, or you can select from the predefined options. *Note: A week is defined as Sunday to Saturday.
-
Keywords: This is an optional field. Enter one or more keywords to limit the results to events associated with those specific keywords. *Note: If multiple keywords are listed, the system will return results that match any of the keywords. You can add a plus sign (+) in front of the keyword group to narrow the results to only include that keyword grouping as a whole.

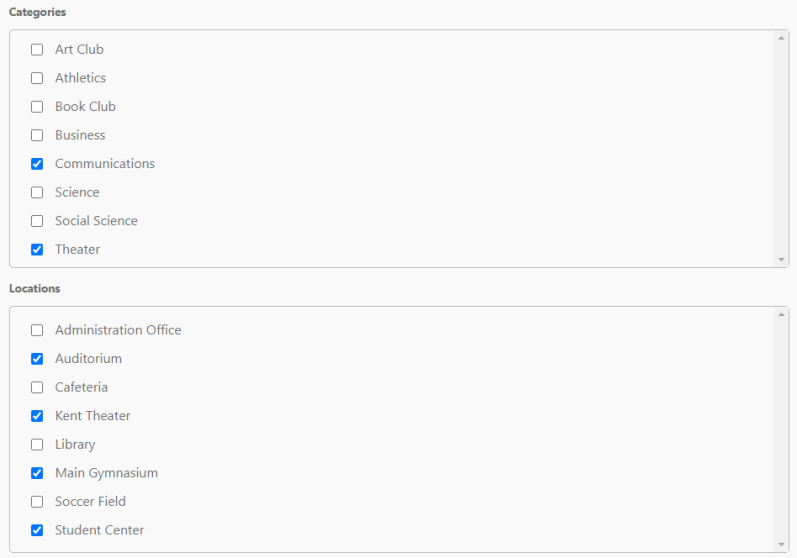
- Categories: This is an optional field. Choose one or more categories to limit the results to events associated with specific categories. The share returns all events that include at least one of the categories that you choose.
- Locations: This is an optional field. Check one or more locations in this field to limit results to events taking place at those locations.
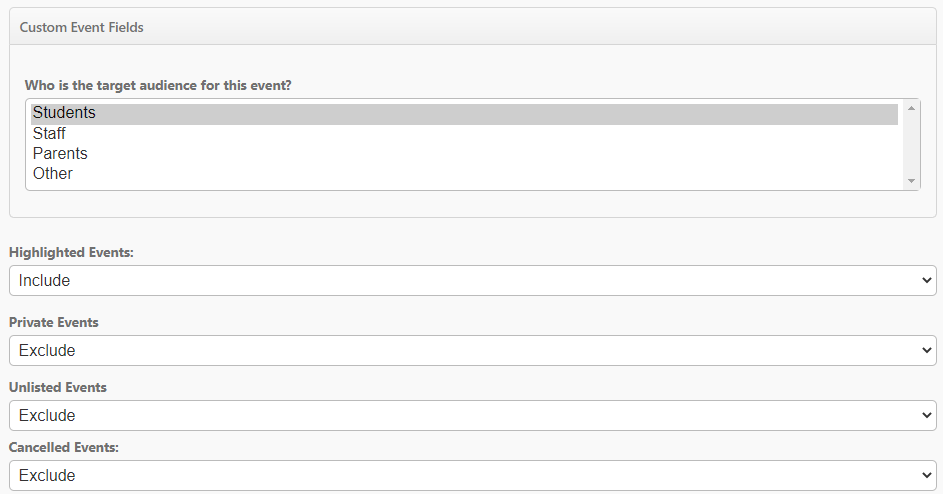
- Custom Event Fields: This is an optional field. Select one or more entries in this field to limit results to events that have the selected custom fields assigned to them. *Note: You can only filter by custom event fields that are either a single or multiple choice field.
- Highlighted Events: Select to include or exclude highlighted events from the list of syndicated events. You can also choose to show only highlighted events.
- Private Events: Select this option to include or exclude private events. The share will return both public and private events if private events are included. You can also choose to only share private events.
- Unlisted Events: Select this option to include or exclude unlisted events. The share will return both listed and unlisted events if unlisted events are included. You can also choose to only share unlisted events.
- Cancelled Events: Select this option to include or exclude cancelled events. The share will return both active and cancelled events if cancelled events are included. You can also choose to only share cancelled events.
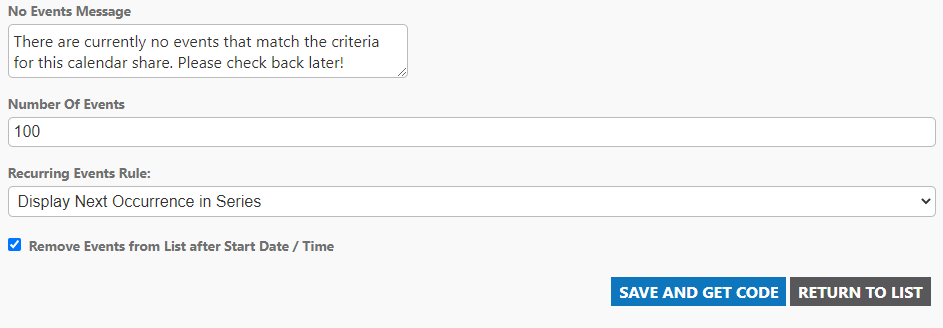
- No Events Message: Enter the text you would like displayed if there are no events found from the criteria selected in the share.
- Enter the maximum Number of Events that will show in the share.
- Recurring Events Rule: For recurring events, choose whether you would like the share to display only the next event in the series or all events in the series.
- Template: Templates are used to stylize the share. Choose a template from the drop down menu. *Note: Selecting a template only applies to a Syndication.
- Choose whether you would like to remove events from the share after the start date/time.
- Click Save and Get Code. The page will refresh with the URL or HTML depending on the Share Type that was selected.
Templates
You can use templates to control how syndicated data are displayed when sent to other websites or portals. *Note: Templates are only able to be applied to Syndications. Other types of Shares will not use the templates you create here.
Adding a Template
- To add a new template, click on the Template Management link.
- Click on Add New Template
- Enter a Name for the Template.
- Select either Basic or Advanced for the Template Type. You create the template in this area, built from supplied tokens (Basic mode) or direct HTML or XSL (Advanced mode).
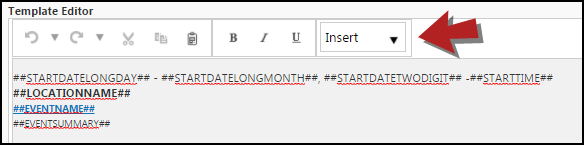
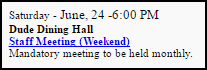
- Basic Mode: In Basic mode, you will use text and "tokens". Tokens are pieces of events, like the start date or description. Insert tokens using the Insert drop down menu. You can apply bold, italics, and other font properties to tokens along with your text. To view what your template will look like when shared, click the Preview button. An example of a basic template is provided below:
- Advanced Mode: In Advanced mode, you enter XSL code directly into the template. *Note: Once you save a template in Advanced mode, you cannot return that template to Basic mode. To view what your template will look like when shared, click the Preview button. Advanced mode is only recommended for users fully acquainted with XSL coding. Dude Solutions currently does not provide troubleshooting support for XSL coding issues.
- Click Save to save the template.
If you would like to share events for display on multiple sites within your account, please see the Event Aggregation section on the Site Management page for a detailed description of the available configuration options.
