Back to Citizen Portal - Permitting Menu
Managing your permit application
Once you have submitted your initial permit application, your jurisdiction may need further information in order to process and issue your permit. You must be logged in to the Citizen Portal to manage your permit application. You will receive email notifications throughout the application process depending on the email notifications you are set up to receive. *Note: The permitting feature may not be available depending on the configuration set up by your jurisdiction.
Accessing the permit
- Click Go in the My Portal section from the home page.
- Click View Applications in the My Applications section. This will display a list of all applications you have submitted.
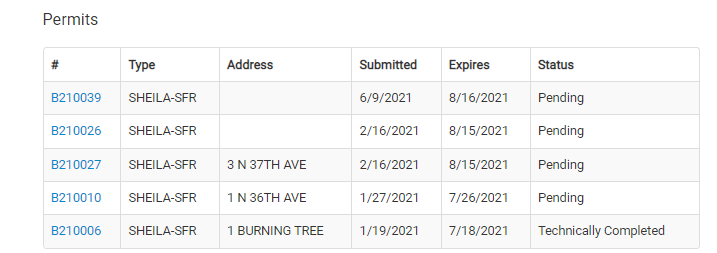
- Navigate to the Permits section and locate the permit you need to view.
- Click the Permit Number in the # column.
Managing the permit application
The sections that display on a permit depend on the permit type. The options below may not display on the permit you are viewing.
Be advised, after the permit application has been created, there are certain sections that must be completed in order for the application to be submitted. Until these sections are completed and the application has been submitted properly, the application will remain in the "Incomplete" state and will not be considered for review.
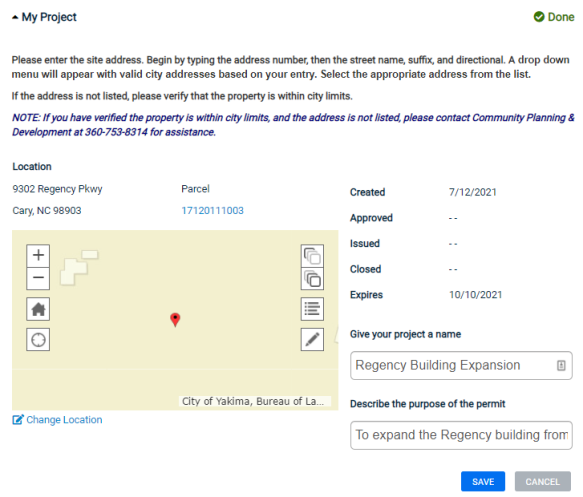
The My Project section lists the Location of the permit application, as well as relevant dates for the project, such as Created, Approved, and Expires dates. You can also give the project a name and describe the purpose of the permit.
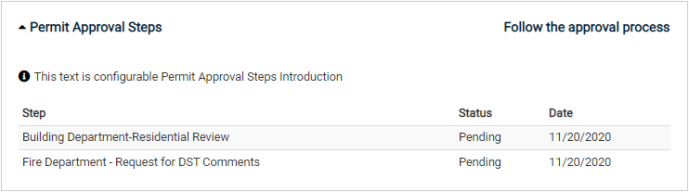
The Approval Steps section lists the steps required prior to issuing your permit. You can see the current status of each step as well as the date the step moved to that status.
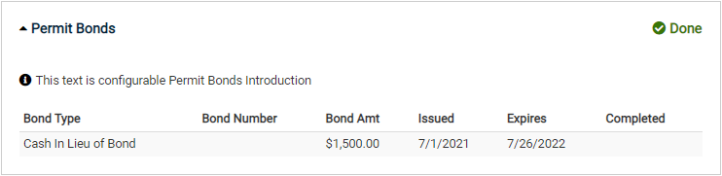
The Bonds section lists any bond that has been associated with your permit application. You can see information about each bond including the bonded amount and when it expires.
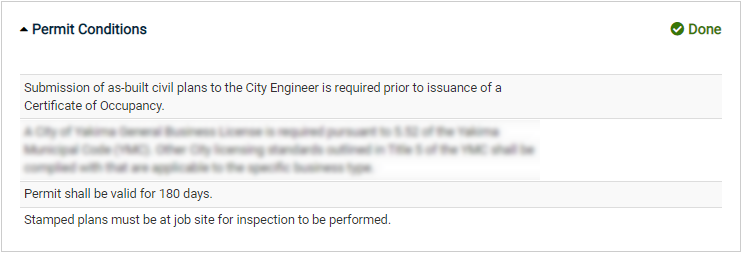
The Conditions section lists any conditions that may need to be verified prior to issuing your permit. The current status of the verification will display next to each condition.
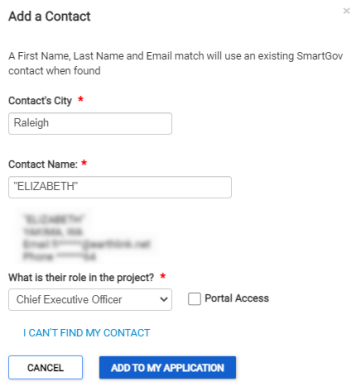
The Contacts section lists any contact associated with your permit application as well as the contact's role. Additional contacts can be added if needed.
-
Click Add Contact.
-
In the window that appears, enter the Contact's City.
-
Begin typing in the Contact Name field and select the appropriate contact.
-
Select the role for the contact in the What is their role in the project? drop-down menu. Be sure to check the Portal Access box if they will need to access this permit from the citizen portal.
-
Click Add to My Application.
-
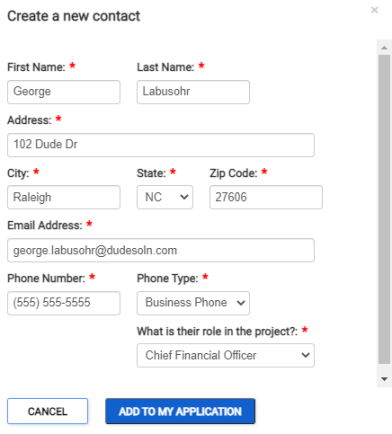
If you can't find the appropriate contact, click I Can't Find My Contact.
-
In the window that appears, enter information in all required fields. Then, click Add to My Application.
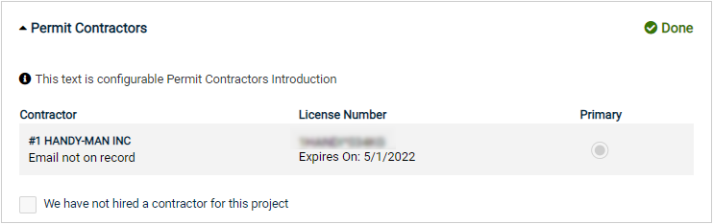
The Contractors section lists any contractor associated with your permit.
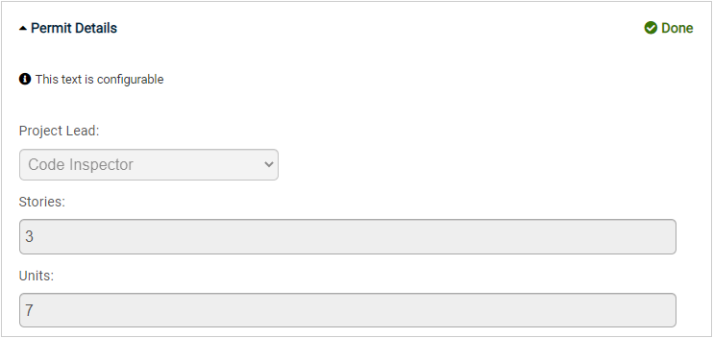
The Details section lists any attributes associated with your permit application. Any value you entered for an attribute during the application process will display here.
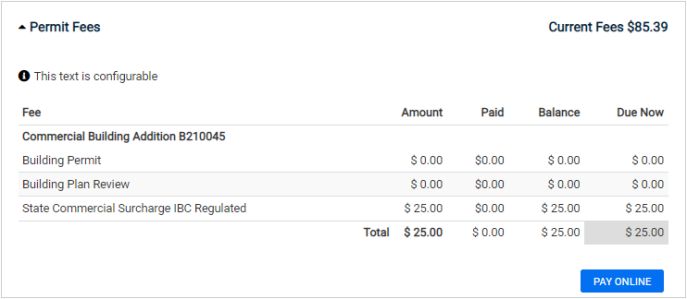
The Fees section lists any fees associated with your permit application. You will see each fee, the amount charged, amount paid, remaining balance, and the amount that is currently due. As your permit application is processed, other fees may be added to your permit or existing fee amounts may be updated.
- Click Pay Online to pay your fees online.
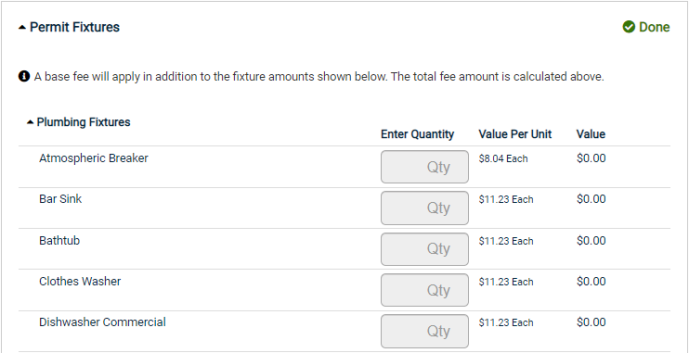
The Fixtures section lists any fixtures associated with your permit, as well as the quantity and cost per unit.
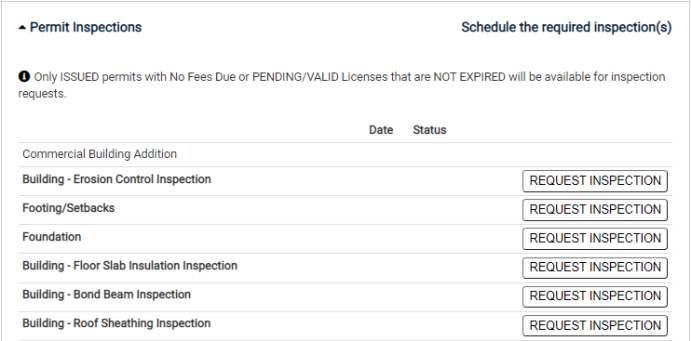
The Inspections section lists any inspections associated with your permit application. You may have the option to click Request Inspection and schedule the inspection. If the inspection has been completed, you can click the documents icon ( ) to view the results.
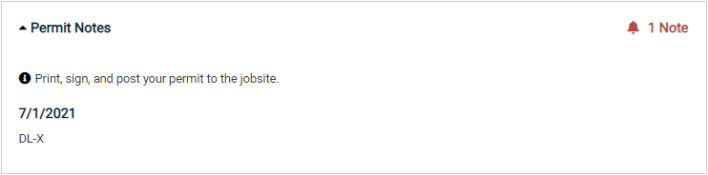
The Notes section lists any notes associated with your permit application. Each note will include the note text and the date the note was created. If you are able to issue your permit on the portal, a copy of your permit report will be available in the notes section. This will allow you to print a copy of your permit.
The Related Permits section lists any permits that are required in order for the current permit to be issued or closed.
- If you do not have one of the required permits, click the Apply Now button to begin the application process for the required permit.

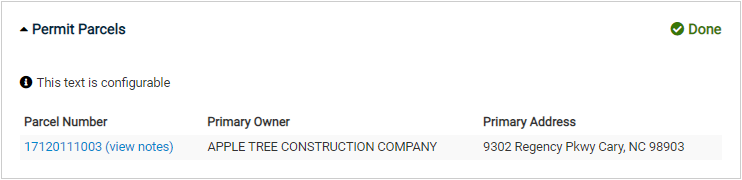
The Parcels section lists the parcels associated with the permit application. You can click the Parcel number to view information related to the parcel.
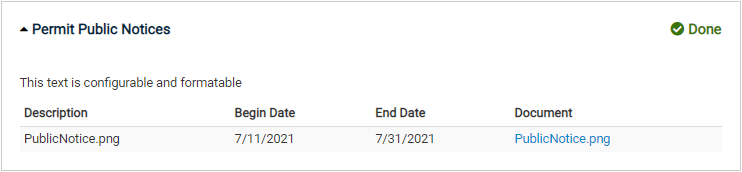
The Public Notice section lists any public notices that have been published for this permit application. You can click the public notice description to view it in your web browser.
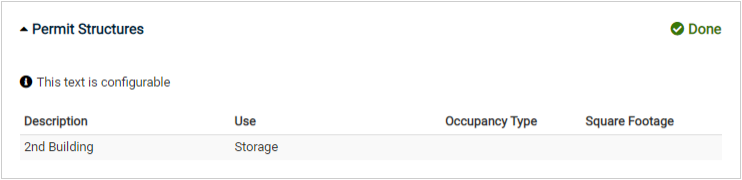
The Structures section lists the structures that are associated with the permit application. You can also see the use, occupancy type, and square footage of the different structures listed.
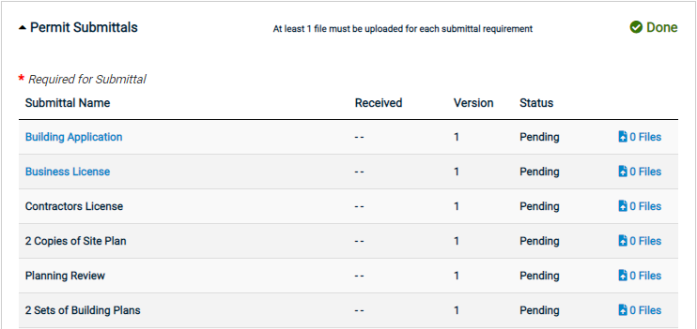
The Submittals section lists any submittals needed for your permit application. You can see if the submittal is required, if it has been received, the version number, status of the submittal, and how many files have been submitted.
- Upload submittals by clicking on _ Files next to the appropriate submittal item.
- Click the Upload button.
- Click the Add Files button in the window that appears and choose the file(s) from your computer.
- Add Comments if necessary.
- Click the Begin Upload button until a green check mark displays next to the file(s).
- Click Close.
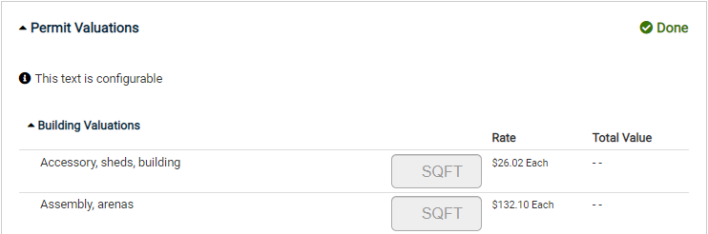
The Valuations section lists any valuation associated with your permit application. You can view the quantity of each valuation, as well as the rate and total value.
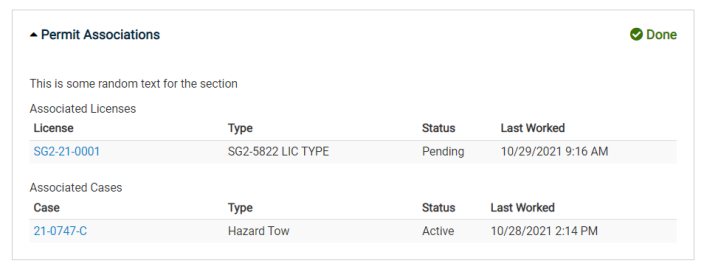
You can view associated code enforcement cases and licenses from this section. Code enforcement cases and licenses will only display if they have been configured correctly.
-
Once all required sections on the permit application are completed and display a green checkmark, click Submit Application at the bottom of the page.
Issuing the permit
Depending on the permit type you are applying for, your jurisdiction may allow you to issue your permit directly from the Citizen Portal as long as all requirements have been met.
- Click Go in the My Portal section from the home page.
- Click View Applications in the My Applications section. This will display a list of all applications you have submitted.
- Navigate to the Permits section and locate the permit to issue. The Status of the permit must be "Ready to Issue".
- Click the Permit Number in the # column.
- Click Issue My Permit at the bottom of the screen.

- A confirmation window will appear at the top of the page notifying you that your permit has been issued. The Status of your permit will change to reflect that it has been issued and the updated Issued and Expiration dates will display.
