Back to Event Manager Main Menu
Media Library
The Media Library is used to store attachments and/or images that can be used by your sites.
- Click on the gear icon (
 ) to access the Site Administration settings page.
 - Click on Media Library under Calendar Settings.
Adding media library folders
Items added to the Media Library can be organized and made available to specific calendar sites via folders. Using folders allows you to restrict images and attachments to specific calendar sites and organize content to make it easier to find. *Note: All images that are added to the Media Library, unless added to a specific folder, will be located in the Default folder.
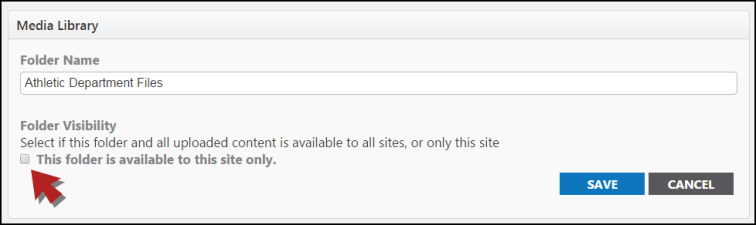
- Click the New Folder button.
- Enter a Folder Name.
- Check the box if This folder is available to this site only. If left unchecked, the items uploaded to this folder will be available to all sites.
- Click the Save button.
Adding files
*Note: If an image or attachment is uploaded to an event and does not currently exist in the Media Library, it will be added to the Default folder. If an image or attachment is deleted from the Media Library, it will no longer be displayed for any events.
- Click on the Folder Name in the Media Library where you would like your file to be stored.
- If you are uploading an image, select the Images option. If you are uploading an attachment, select the Attachments option.

- Click the Upload New button.
- On the Add File page, click Choose File to browse for and select the file from your computer.
- Enter an Alternate Text/Link Text you would like displayed instead of the file name.
- Enter any Keywords to help make the image or attachment easy to find.
- Click the Upload button to upload the file to the Media Library.
*Note: The maximum size for an image upload is 3MB, and the maximum size for an attachment upload is 10MB
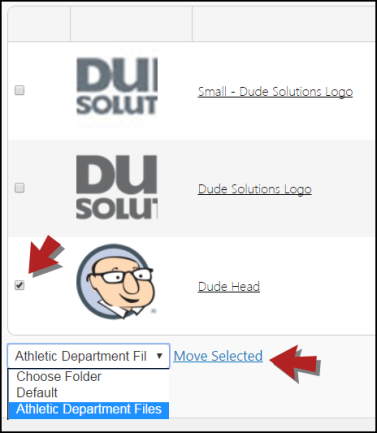
Moving Files
- Locate the file in its current folder
- Select the checkbox next to the file.
- From the Choose Folder drop down, select the folder you would like to move the file to.
- Click the Move Selected link to move the file to that folder.