Back to Event Manager Main Menu
Managing a Waitlist
If you enabled the Waitlisting feature when you created an event, you can access and manage the waitlist for that event from the Dashboard for the event.
- Click on the Events tab to view the Event list.
- Find the event you need and select Dashboard from the Actions drop down.
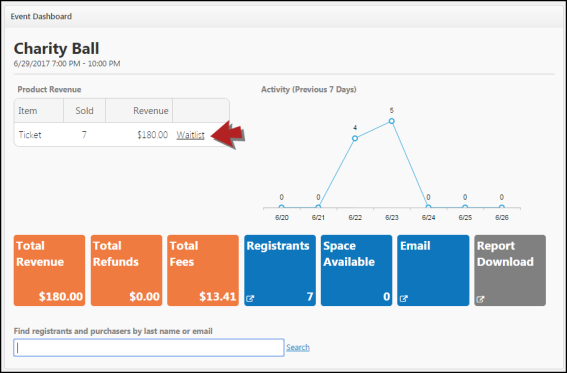
- Click Waitlist in the Product Revenue table.
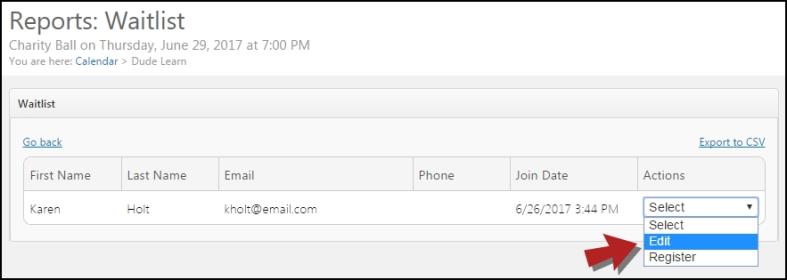
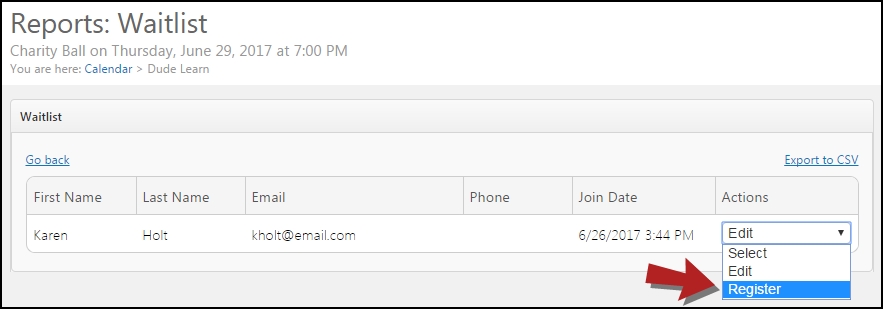
- This will bring you to a list of visitor that have joined the waitlist for this event.
- To edit a person's waitlist information, select Edit from the Actions drop down.
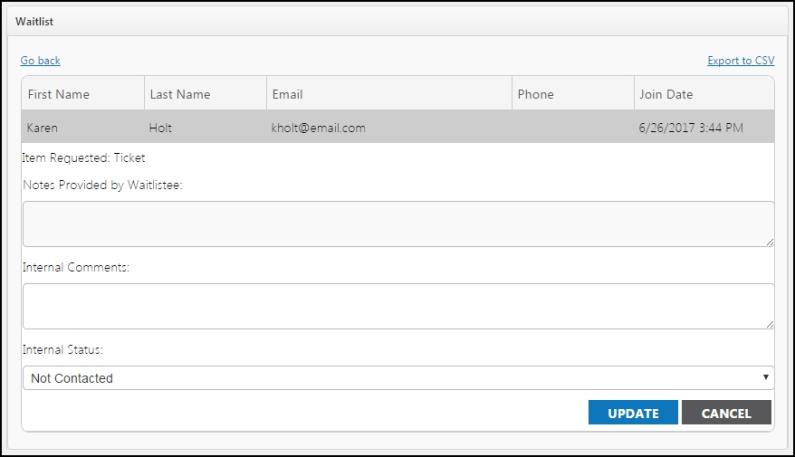
- On the next screen, you will see all information provided by the person on the waitlist as well as the following additional fields:
- Internal Comments - Allows you to enter notes about the person on the waitlist.
- Internal Status - Allows you to manually track the status of the person on the waitlist by selecting one of the following options: Not Contacted, Contacted, Declined, Interested, Attending. *Note: The default internal status is "Not Contacted".
- Click Update to save any changes.
Adding a Registrant From the Waitlist
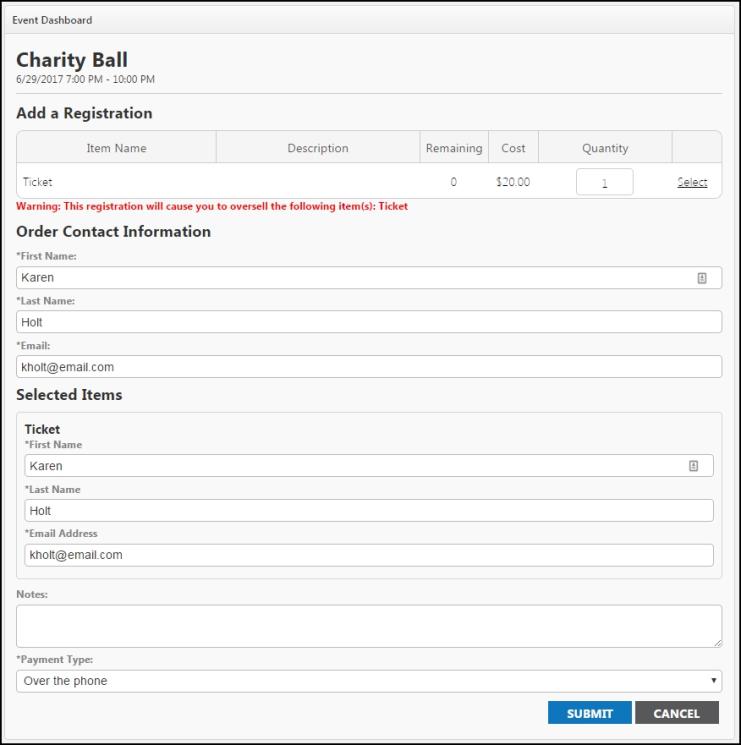
- To register a person from the waitlist, select Register from the Actions drop down.
- You will then be directed to the Add a Registration page with the waitlistees information already populated.
- You can edit the Quantity requested and any other information as needed.
- Select the Payment Type from the drop down:
- Complimentary: Use when the registration should not have any monetary value associated to it.
- At the door: Use when the registration has an associated cost and payment is outstanding. All monies will be collected prior to entry to the event.
- Over the phone: Use when the registration has an associated cost and the payment has been completed via an external process.
- Click Submit.