Back to Event Manager Main Menu
Adding and managing organizations
In Event Manager, Organizations are internal or external groups that will use your facilities for an event. *Note: If you do not currently have access to this feature, please contact your Sales Representative or Client Services for more information.
Watch the video tutorial

To access the Organization page:
- Click on Settings from the side navigation menu.
- Click on the Organizations tile under Global Administration.
Organization Settings
Under Organization Settings, you can add Organization Types and define whether or not an active insurance document is required for all organizations.
To access Organization Settings:
- Click on Settings.
Creating organization types
Organization Types are used to group or categorize an organization. *Note: If you already have an organization structure or fee structure in place, we recommend matching the organization types to that structure.
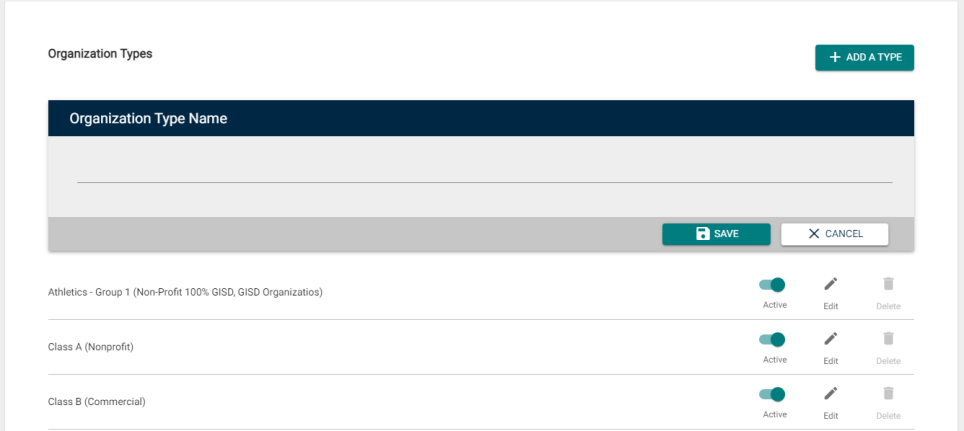
- To add a new Organization Type, click Add a Type.
- Enter the Organization Type Name.
- Click Save.
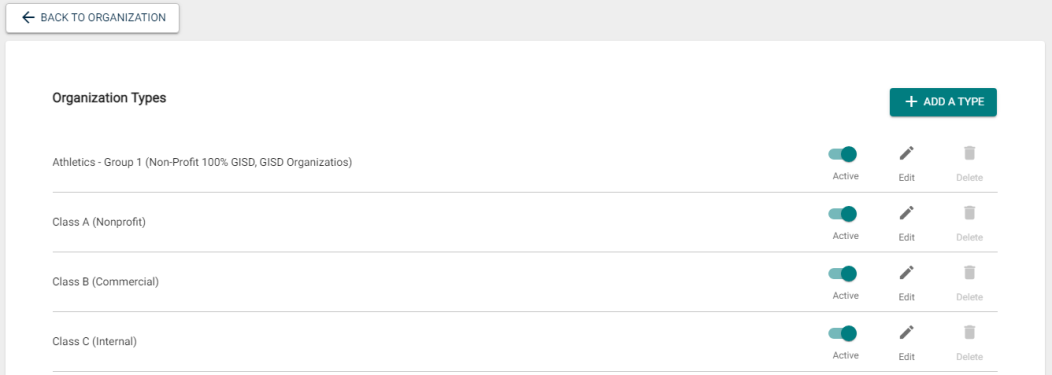
Navigating the Organization Type List
Once you have added Organization Types to your list, you have a few navigation options available.
- Active: Use this toggle to make an organization type active or inactive.
- Edit: Click Edit to change the name of the Organization Type.
- Delete: Click Delete to remove the Organization Type from the list.
Organization Settings
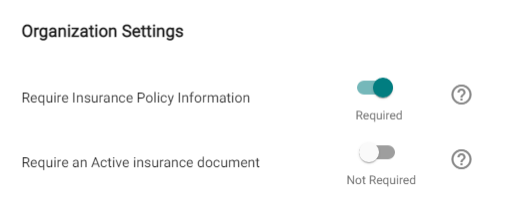
You can choose whether organizations are required to have an active insurance document or not.
- Click on the toggle next to Require Insurance Policy Information if you would like to require organizations to provide insurance documentation.
- Click on the toggle next to Require an Active insurance document if you would like organizations to be required to keep their insurance information up to date in Event Manager.
Adding an Organization
- To begin adding an organization, click Create an Organization.
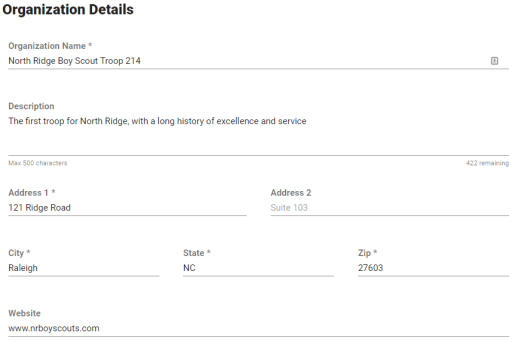
Organization Details
- Enter the Organization Name. *Note: All required fields are indicated with an asterisk.
- Enter a Description for the organization. *Note: There is a character limit of 500 characters.
- Enter the organization's address information under Address 1, Address 2, City, State, and Zip.
- Enter the organization's Website, if applicable.
Financial Info
Provide any financial information that is relevant for the organization.
- Select an Organization Type.
- Select the Payment Type.
- Select the Invoice Type.
- Enter the organization's FEIN (Federal Tax ID), if applicable.
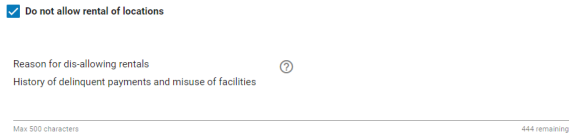
- Do not allow rental of locations: If this box is checked, this organization will be removed from the selection list on the event form.
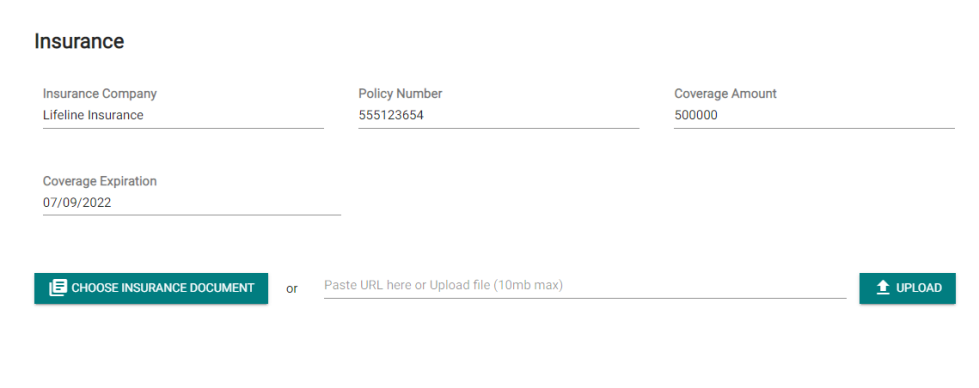
Insurance
Provide any insurance information that is relevant for the organization. *Note: This information is required if the "Require an Active insurance document" toggle has been turned on under Organization Settings.
- Enter the Insurance Company.
- Enter the Policy Number.
- Enter the Coverage Amount.
- Enter the expiration date of the insurance in the Coverage Expiration field.
- You have two options to provide a valid insurance document:
- Click Choose Insurance Document and select a file that has been uploaded to the Insurance Document Library.
- Click Upload to select a file from your computer. The file will be added to the Insurance Document Library for future use.
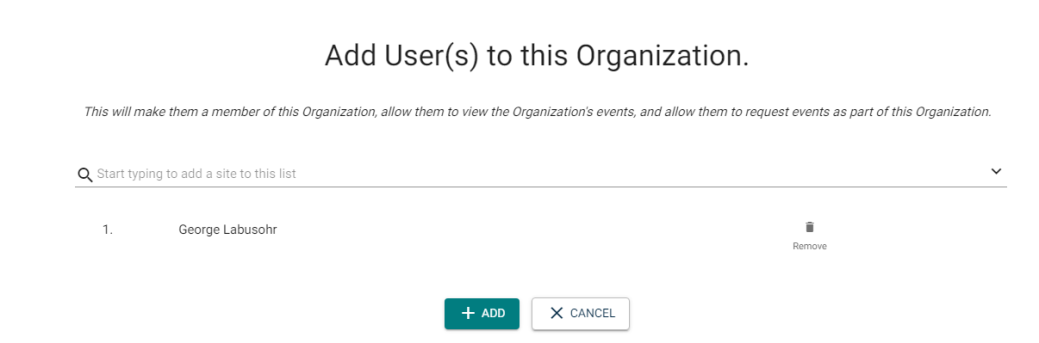
Members
The Members section of an Organization allows you to manage the list of people who are tied to this organization.
- To add a user to an organization, click Add a Member.
- Start typing a user's name in the search field to filter the results of the drop down menu.
- Click the name of the user you wish to add as a member. Repeat this process for any additional members who should be added to this organization.
- Click Add to finish adding users to the list of members of this organization.
- You can obtain the phone number of a member within the organization when viewing their details on the Organization page:
- Navigate to Settings.
- Go to Organizations.
- Select an organization and click Edit.
- Click Members in the Edit An Organization section on the left (or scroll down to view the member) to obtain the phone number.
- A member can be made the Leader of this organization by checking the Leader box.
Leaders are used to represent the main point(s) of contact for an organization. When you approve, remove, or deny another member of an organization, the leader receives an email notification. You also have the option to use the Leader's contact information on the Organization's Event Form.
- To remove a member of this organization, click Remove. *Note: This will remove the user from membership and they will no longer be able to create events for this organization.
- Click Submit to save the new organization's information.
Managing the organization list
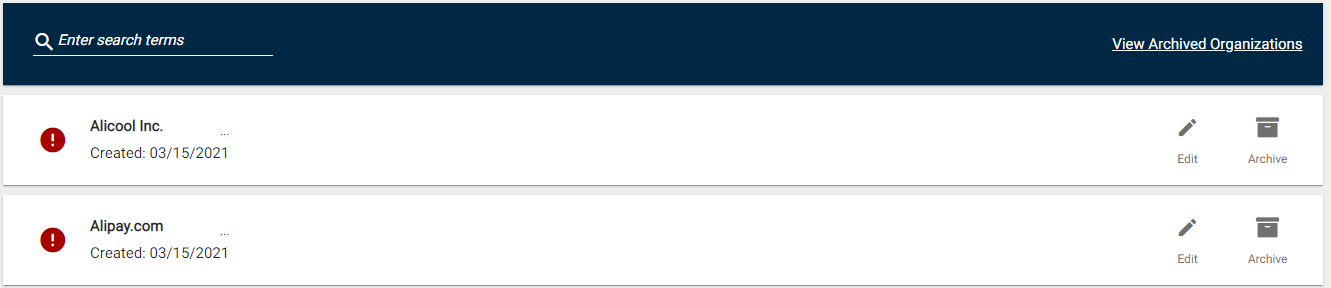
As your organization list grows, the tools used to find, edit, and remove those organizations become more important.
- To find an organization from your list, begin to type its name in the Enter search terms text field. The organization list will filter automatically to match the text as you type.
- Click Edit to make any necessary changes on the Organization Details screen.
- Click Archive when an organization is no longer relevant or if you do not want the organization to show up on the Organization list or Event Form. *Note: Click View Archived Organizations to view or restore an organization to the list.