How to Create a Work Order
Watch the Video Tutorial:
*Note: Any field marked with a red checkbox  is required.
- Click on the New Work Order tab.

-
Fill out the work order form with the information applicable to the maintenance issue being reported.
-
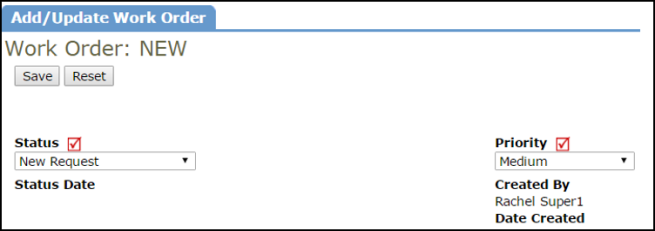
In the Add/Update Work Order section at the top of the form, select the Status and Priority for the new work order.

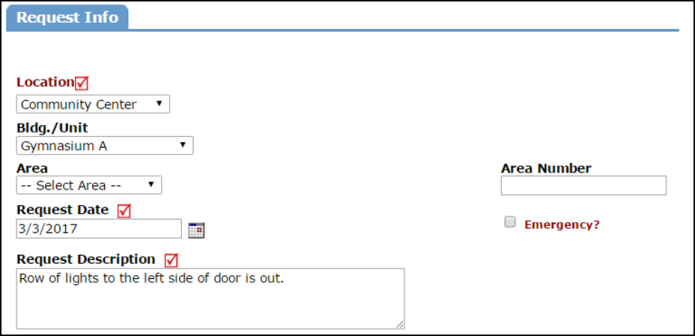
- The Request Info section houses information regarding the Location of where the work needs to be done and the Description of what work needs to be done. The Locations listed in your drop down are the ones that have been assigned to you by your Administrator. *Note: Even though the Bldg/Unit, Area, and Area Number fields are not required, they can be very important for reporting purposes.

- The Deferral section allows you to document the Reason for Deferral, the User that deferred it, and the New Due Date. *Note: You can also change the work order Status to "Deferred".

- The Contact Info section allows you to enter the contact information of a new or existing user if you are entering the new work order on their behalf.

-
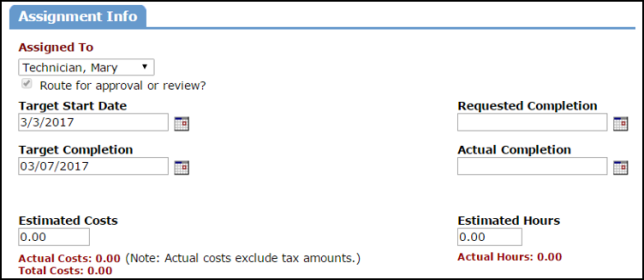
Select the assignee's name in the Assigned To drop down.
-
The Target Start Date will default to the date the work order form is opened but it can be changed if needed.
- If desired, enter a Target Completion date under the Assignment Info section.
-
Fill in the Actual Completion date when the work for the work order has been completed.
-
You can also enter Estimated Cost and Estimated Hours on the work order.

- The Budget Info section contains many fields that are important to select for reporting purposes, specifically Purpose and Craft. If you are tracking Equipment on the work order, you will want to select this, as well as a Classification and Type that corresponds with the equipment selection. *Note: Craft and Purpose may also be a part of your account's work order routing and are important to select. The Crafts listed in your drop down are the ones that have been assigned to you by your Administrator.

-
Once all of your work order details have been entered, click on the Save button at the bottom of the page.

