Adding attachments to a work order in the mobile app
- Tap the Work Orders icon at the bottom of the screen.
- Select the work order you need to add attachments to by tapping on the work order in the list. You can use the search (
 ) and filtering (
 ) options to quickly find the work order if needed.
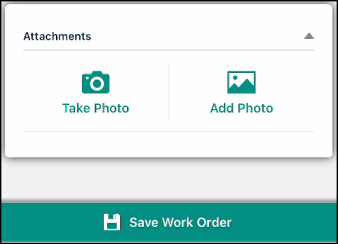
 - Scroll down to the Attachments card.

Adding attachments
The attachments section will include any photos that were submitted with the work order.
- Tap the name of the photo to view it on your device.
- To add additional photos to the work order:
Taking a photo
- Tap the Take Photo icon to launch your device's camera. *Note: Depending on the type of device you are using, you may be asked to allow Asset Essentials permission to access your camera. This permission is necessary for Asset Essentials to attach photos taken with your device to the work order. Tap Allow if you are prompted for this permission.
- Use your device's camera to take the photo.
- Once finished, you can tap the Edit Photo button to annotate your photo if needed.
- If you are annotating a photo, use your finger or a stylus to draw on the photo.
- Tap the Save button to add any mark-ups drawn on the photo.
- Tap Done.
- Enter a Name for the photo if necessary.
- Tap Save to attach the photo to the work order.
Adding a photo
- Tap the Add Photo icon to launch your device's photo gallery. *Note: Depending on the type of device you are using, you may be asked to allow Asset Essentials permission to access your photo gallery. This permission is necessary for Asset Essentials to attach an already taken photo to the work order. Tap Allow if you are prompted for this permission.
- Select the photo on your device.
- Once finished, you can tap the Edit Photo button to annotate your photo if needed.
- If you are annotating a photo, use your finger or a stylus to draw on the photo.
- Tap the Save button to add any mark-ups drawn on the photo.
- Tap Done.
- Enter a Name for the photo if necessary.
- Tap Save to attach the photo to the work order.
