Managing parts in the mobile app
You can easily search for, view, and scan parts right from the Asset Essentials mobile app. *Note: The Parts & POs feature is available to Asset Essentials clients for an additional cost. Please contact your Sales Representative or Client Services if you are interested in purchasing this feature.
- Tap the Parts icon at the bottom of the screen.
Viewing a part
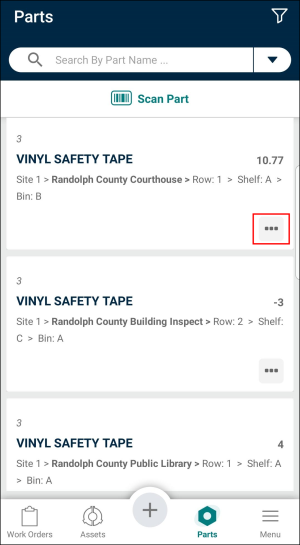
- On the Parts list page you will see a list of all the parts in your Asset Essentials account broken out by what inventory locations they are stored in.
- Tap the ellipsis button below a part to expand the card and quickly view its quantities within that inventory location.
- Tap on a part to access additional information.
- Tap Scan Part above the list to scan a part's barcode or QR code to access its information.

Searching for a part
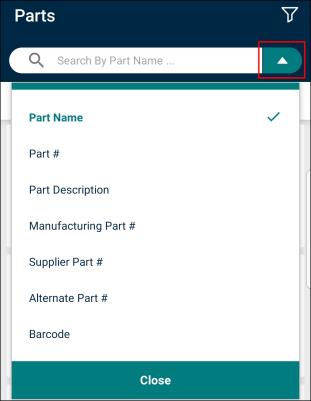
- You can search for a part by tapping on the arrow next to the search bar and selecting an option to search by in the drop-down menu. *Note: The search bar defaults to searching by Part Name if you do not make a selection. Once you make a selection, that option will continue to be the default from then on until you manually change it again.
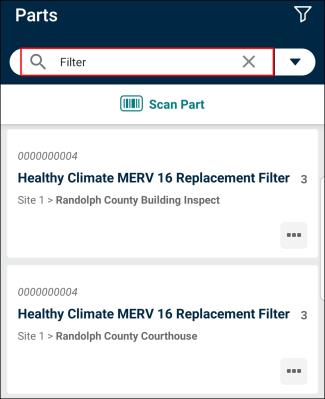
- Enter your search criteria in the search bar to populate your list of results.
- Tap the filter icon (
 ) to apply filters. If you are filtering the list by Location or Category, you will see the hierarchy of each item to have a better understanding of what you are selecting.
Viewing, adding, or editing part photos
-
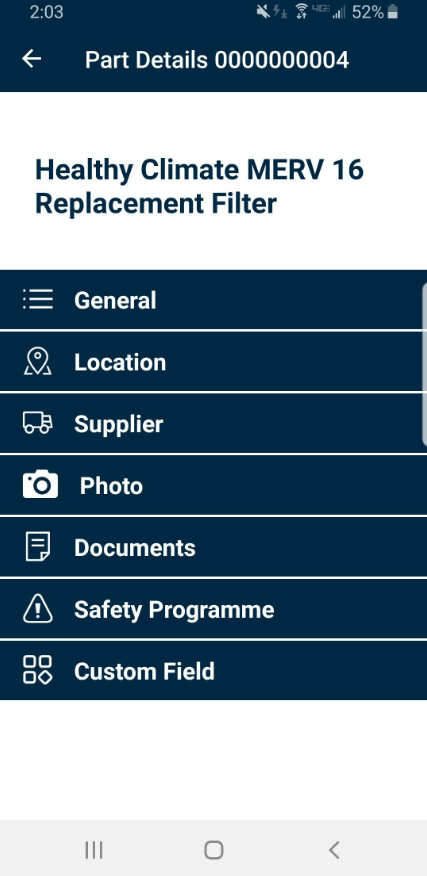
Users with View part permissions are able to see a parts photo by selecting the Photo option on the Part Details page.
-
Users with Edit permissions are able to add a photo if one does not exist or update the photo if one already exists.
Steps
-
Navigate to the part details screen: Parts Tab > Select Part
-
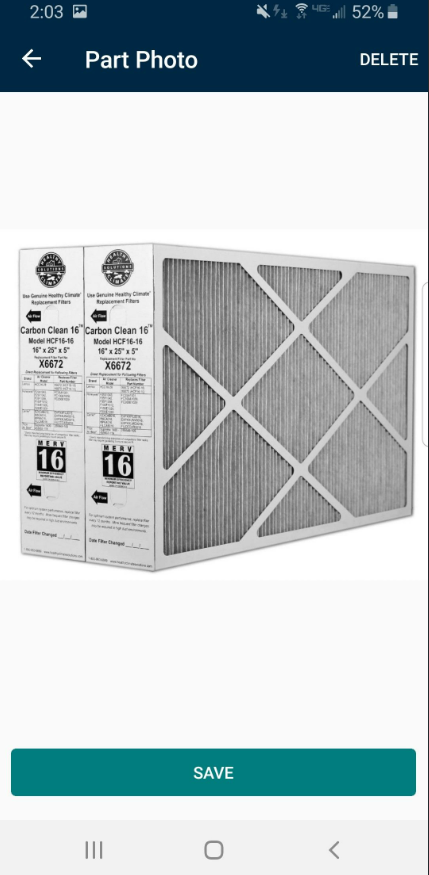
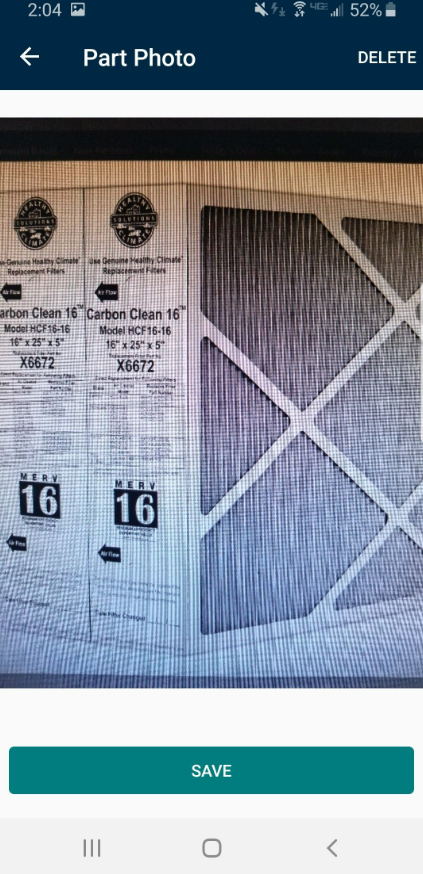
Select Photo from Part Details to view the existing photo
-
Select Delete to remove the existing photo.
-
Select Save for the update to be saved.
-
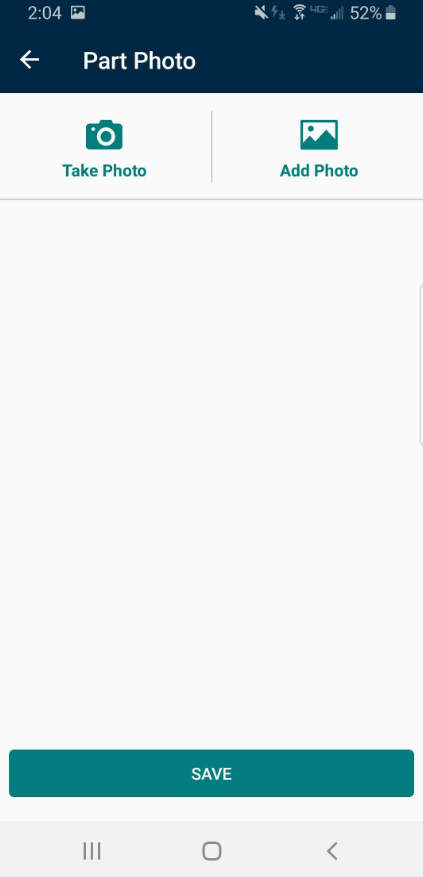
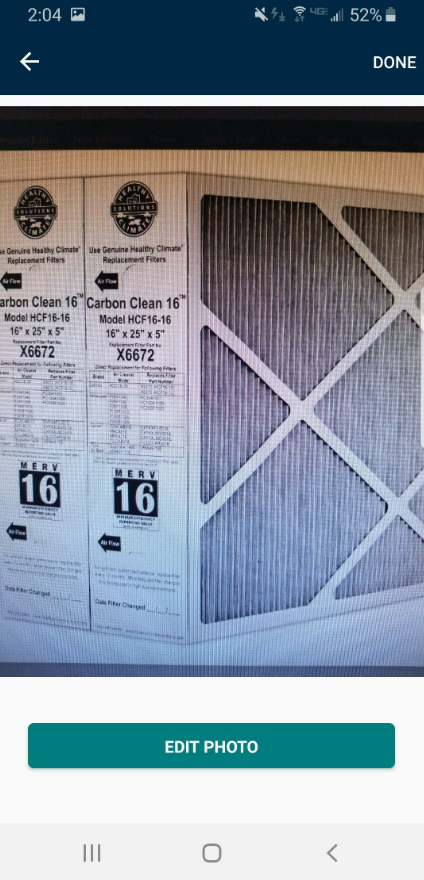
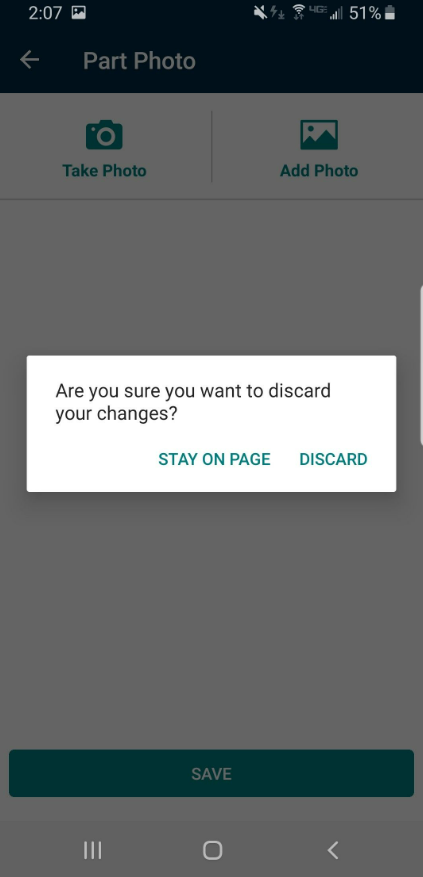
When there is no photo for the part and the user has edit part permissions then they can choose to take a photo or select a photo from the camera roll. After taking or selecting a photo the user can edit the photo.
-
When done editing select Done.
-
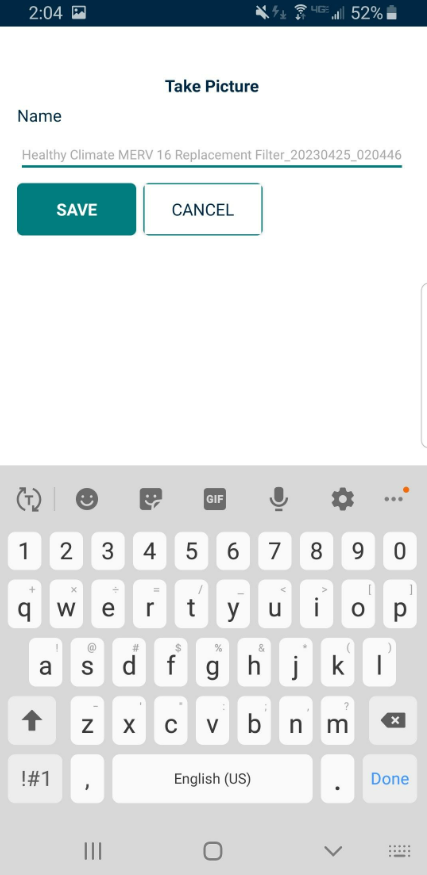
Provide a name for the photo you are uploading. Note this name must not already exist in the system or you will get an error. Select Save.
-
The photo is uploaded and displays for the part. Select Save to save the new part photo.
-
If you change any data and try to leave the page without saving you will receive a warning message shown below.
Things to know:
-
If there is no photo for a part and the user only has view part permissions then they will see text on the Part Photo page saying there is no photo for the part.
-
Using the default photo name is the easiest way to ensure the information in unique. The name defaults to "PartName_Date/Time" where the "date/time" is the current date/time. This way we get a unique value every time.
-
Users will need to allow permissions to their camera and photo album to upload photos.
