Logins
Adding a New Login
-
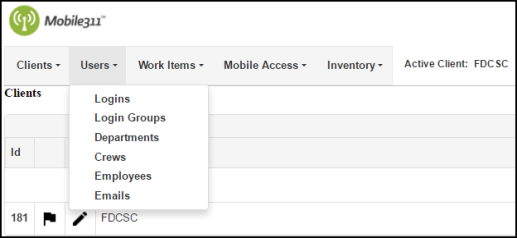
From the Admin Portal, hover over the Users tab and click Logins.
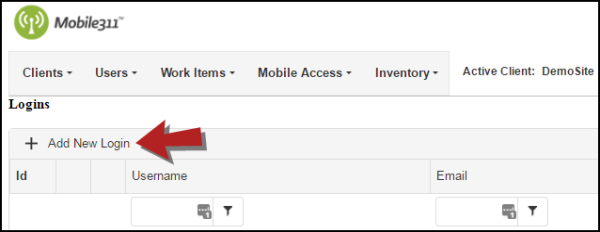
- Click on Add New Login at the top of the users list.
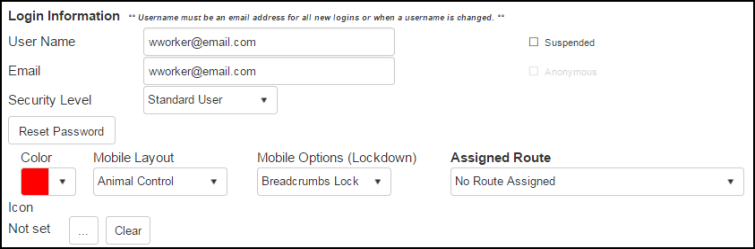
- Enter a User Name for the user. This is a required field. *Note: The User Name must be an email address.
- If applicable, enter an Email for the user. *Note: If the user does not have a valid email, you are not required to fill out this field however if they need to receive assignment emails, this information needs to be filled in. The email entered can be a standard email address or an email-to-text address such as 9195555555@vtext.com
- Enter a Password and confirm it in the Confirm Password field. *Note: Although there is no character limit for the password, it is best practice to create a password that is secure and easy for the user to remember. A secure password consists of letters, numbers, and a symbol.
- Choose a Security Level for the user:
- Anonymous - allows anonymous requests to be submitted via the Citizen Portal.
- Guest - applies to users who will submit requests via the Citizen Portal. If you have enabled the Citizen site and a user creates a Login, that user's login name and email (if provided) will be displayed as a Guest user. Allows them to create work orders from the Citizen portal only. Can only see work items that they created.
- Standard User - gives the user access to the web portal and mobile application. This is the most commonly used role. They can do everything in the system except access the Upload Data tool, the Scheduler, and the Admin Site to make account changes.
- Web Administrator - gives the user access to the web portal and mobile application as well as access to the Admin Site to make any necessary changes to the account. This is also the only Security Level that has the ability to create, edit, and access the Scheduled Work Items feature. There can be multiple Web Administrators in an account.
-
If desired, you can choose an Icon or a Color for the user. The icon will show where the user is located on the map. If both an icon and a color are used, the breadcrumbs will show as the color that is selected.
-
Select a Mobile Layout. The options listed under Mobile Layout are what you have entered in as Mobile Profiles in your account. The Mobile Layout will determine what buttons are visible on the users mobile device. *Note: It is important to identify the correct Mobile Layout for your users as each user may complete different types of work and may need to view a different set of buttons on their device.
-
If the user has an Android Device, you can select a Mobile Option for them. Mobile Options determine what a user can or cannot edit on their mobile device. *Note: This field only applies to Android devices and is optional.
-
If there is a Route the user needs to be assigned to, select the Route from the Assigned Route drop down.
-
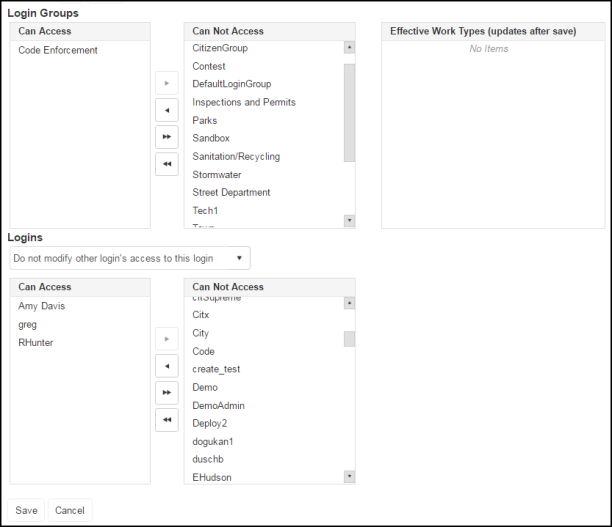
Under Login Groups, use the left arrow to assign the user to specific Login Groups. Be sure any Login Groups the user needs access to are in the Can Access box. Assigning Login Groups to users will determine what work types they will have access to when entering a work item.
-
*IMPORTANT In the drop down under the Logins section, you can select one of the following options to determine which other users can view the newly created users location (if you are tracking breadcrumbs) as well as work items created by the user.
-
Do not modify other login's access to this login
-
Add to all existing standard and admin logins
-
Add only to standard and admin logins that are in login groups this login can access
-
Add only to standard and admin logins this login can access
-
Remove this login from all other logins
-
- If the user needs to see other users work items and the location of other users (if using breadcrumbs), be sure to move these users to the Can Access box using the left arrow.
- Click Save when you are finished.
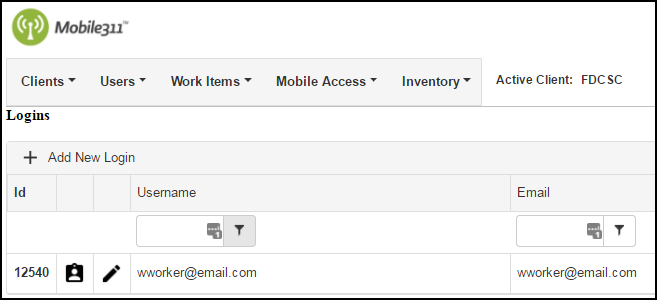
Updating an Existing Login
- Hover over the Users tab and click Logins.
- Click the pencil icon (
 ) next to the user whose Login needs to be updated.
- On the next screen, make any necessary updates and click Save at the bottom of the page when you're finished. *Note: If you are updating the user name, it must be in email address format.
.
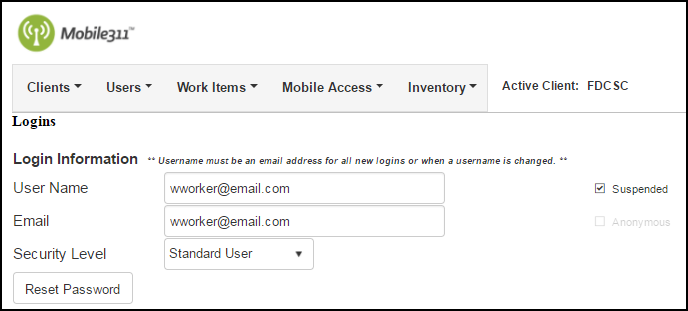
Suspending a Login
Suspending a Login will prevent the user from signing into Mobile311 and removed them from any lists in the system. *Note: If the user is also listed as an Employee, be sure to remove that as well by suspending the Employee entry. If you do not suspend the Employee entry, the user will still show up in the transactions "Employee" section.
- Hover over the Users tab and click Logins.
- Click the pencil icon () next to the user whose Login needs to be suspended.
- Check the Suspended box at the top of the page.
- Click Save at the bottom of the page when you are finished.
Resetting a Password for a Login
- Hover over the Users tab and click Logins.
- Click the pencil icon () next to the user whose password needs to be reset.
- On the next screen, click the Reset Password button.
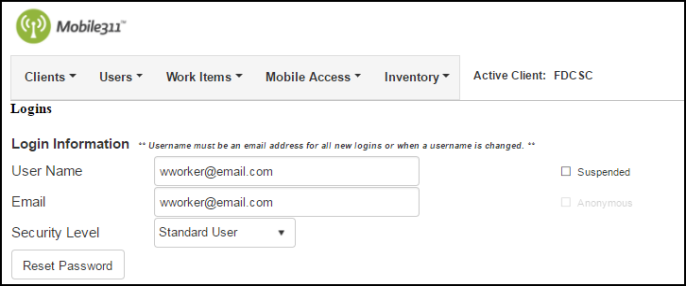
- Enter a New Password and Confirm it.
- Click the Set Password button.
- Click Save when you are finished.

