Making the Information Searchable
Before you create your Quick Search, you need to make sure both your Layer and the Field you would like to search are set to "Searchable." If this has already been done, you can skip to the next section.
- Log in to the Admin Portal.
- Hover over the Themes tab and select Edit Themes. This will pull up a list of the Themes for your account and activate the options for making changes to your themes.
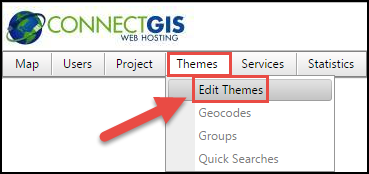
- Hover over the Services tab and click Edit Service. This will pull the list of REST services (MXDs we have published) tied to your account and activate the option to edit the layers tied to the highlighted service.

- Hover over Services again and click Layers to pull up a list of layers in that service.
- Highlight the layer you want to make searchable and then click the Update button.
- This will pull up a page with information about the layer. Make sure the Searchable box is checked and click Update Layer at the bottom.

|

|
- Hover over the Services tab again and select Fields. This pulls up a list of all the Fields in that Layers attribute table.
- Make sure the Field you want to search is in the left hand column, Selected Fields. Highlight the correct Field and then click Update.

|
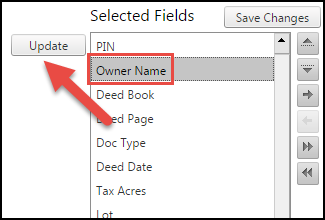
|
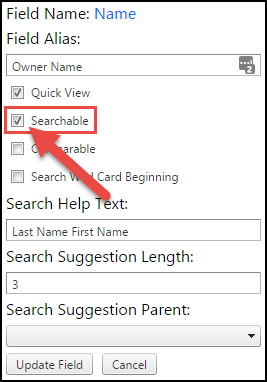
- This pulls up the Field options. Make sure the Searchable box is checked and click Update Field at the bottom.
Creating a Quick Search
- Hover over the Themes tab at the top of the screen and select Quick Searches. If Quick Searches is not selectable, make sure you have selected a Theme and Service to edit.
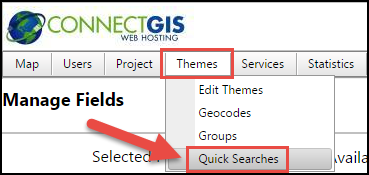
- Click the Add button.
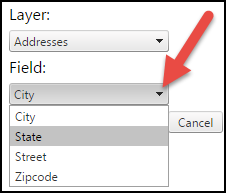
- You will see a drop down list of Layers you have set to be Searchable. Once you select the Layer you want to search, you will also be able to select the Field within that layer that has been set to Searchable.
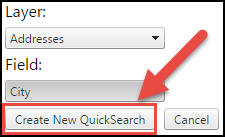
- Once you have selected your desired Layer and Field, click Create New Quick Search.
- The Quick Search will now show up in the list of Quick Searches and can be edited at any time by highlighting it in the list and clicking Update.
