Back to Event Manager Main Menu
Financial settings
There are many ways to customize invoice settings within Event Manager, all with the intention of making the process of invoicing easier and more efficient. Setting up your Budget Codes, Payment Terms, Classifications, and Application Fees improves the efficiency of invoicing and increases data integrity. *Note: If you do not currently have access to this feature, please contact your Sales Representative or Client Services for more information.
- Click Settings from the side navigation menu.
- Click on the Invoice Settings tile under Global Administration.
Budget codes
Once you set up Budget Codes, you can apply payments against them and track the remaining budget for the Fiscal Year. *Note: You must set up your Fiscal Year before beginning to add Budget Codes.
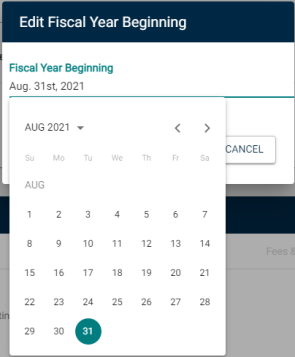
Defining fiscal year
- Click Edit Fiscal Year under the Budget Codes section.
- Select the start date from Fiscal Year Beginning.
- Click Save.
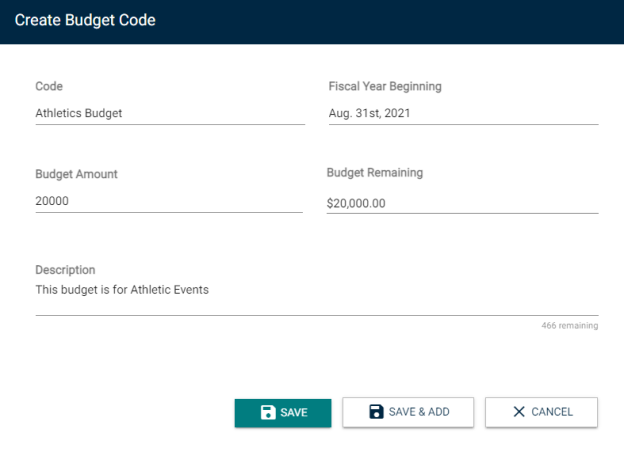
Adding a budget code
- Click Add a Budget Code.
- Enter the name of the Code.
- Enter a starting Budget Amount.
- Edit the amount of Budget Remaining, if necessary. *Note: As payments are applied to a budget code, the budget remaining will be adjusted accordingly.
- Enter a more detailed Description, if necessary.
- Click Save to finalize the changes, or Save & Add to finalize the changes and continue adding Budget Codes.
- Once Budget Codes have been added, they can be edited at any time.
- Click Edit next to a Budget Code to make changes to it.
- Click Remove to delete a Budget Code. *Note: A Budget Code can only be deleted if it has not been associated with payments.
- Click the toggle next to a Budget Code to make it Active or Inactive. *Note: This will remove this budget code from selection for line item templates, fees & discount templates, and tax templates.

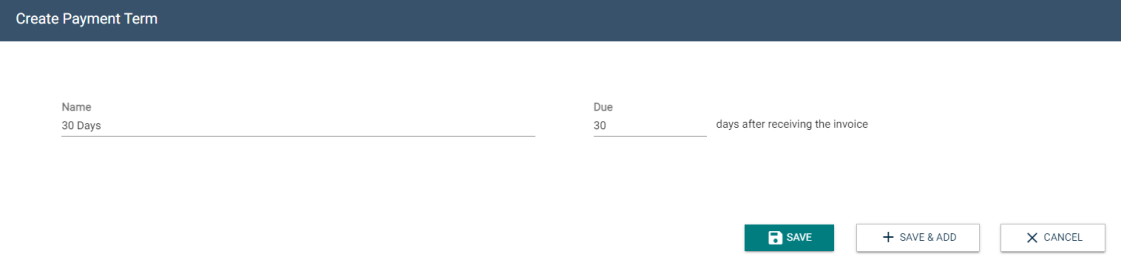
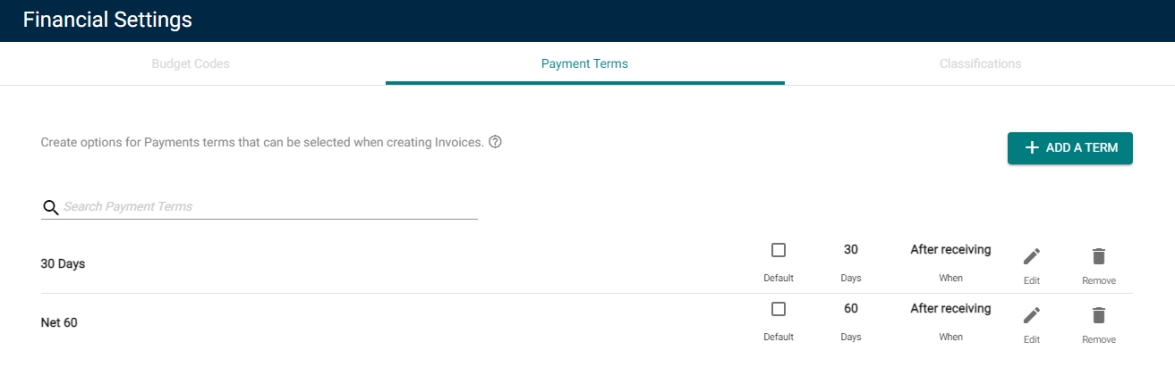
Payment terms
Payment Terms are used to define how long a recipient has to pay the invoice before it is considered overdue.
- Click on the Payment Terms tab from the Financial Settings panel.
- Click Add a Term.
- Enter a Name for this term period, such as 30 Days.
- Enter the number of days after receiving the invoice that the invoice will be considered Due.
- Click Save to finalize the changes, or Save & Add to finalize the changes and continue adding terms.
- Once Payment Terms have been added, you have the following options:
- You can make a Payment Term auto-populate on all new invoices by selecting it as the Default.
- Click Edit to make changes to a Payment Term.
- Click Remove to delete a Payment Term you are no longer using.
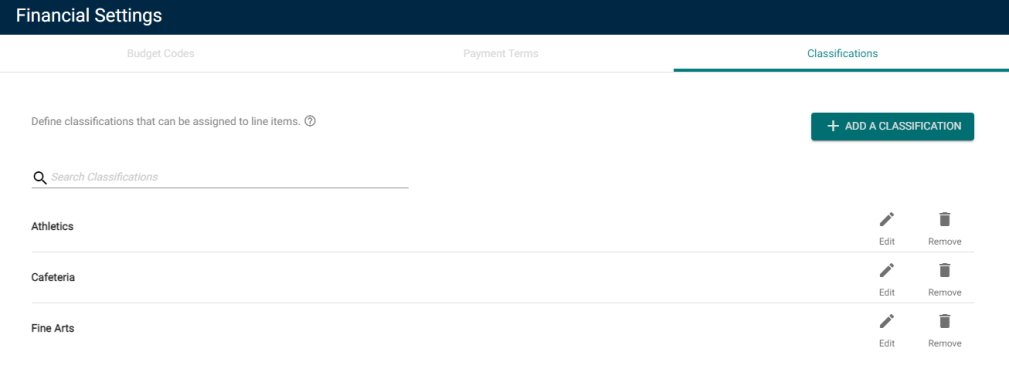
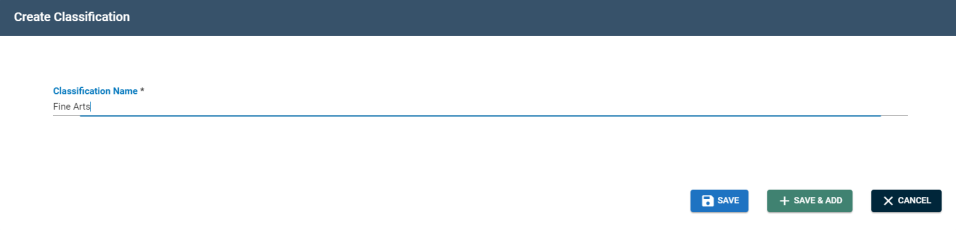
Classifications
Classifications are categories that can be assigned to line items to make them easier to search, export, and report on.
- Click on the Classifications tab from the Financial Settings panel.
- Click Add a Classification.
- Enter the Classification Name.
- Click Save to finalize the changes, or Save & Add to finalize the changes and continue adding classifications.
- Once Classifications have been added, you have the following options:
- Click Edit next to a classification from the list to make changes to it.
- Click Remove next to a classification from the list to delete it.