Back to Energy Manager Main Menu
Setting Up ENERGY STAR
Energy Manager has the ability to sync with a new or established Portfolio Manager account. Before setting up your Energy Star Sync, there is core facility data that ENERGY STAR requires. For each ENERGY STAR-enabled facility, you will need a minimum of 12 months of utility bills, and certain facility information such as the primary function, floor area, and zip code. *Note: Energy Star Sync is an add-on feature. Please contact your Sales Representative or Client Services if you are interested in purchasing this feature.
Property Attributes
- Select Energy Star from the navigation menu.
- Click Property Attributes.
- Select the Facility that you want to send to Portfolio Manager from the drop-down menu.
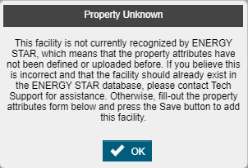
- If the facility does not currently exist in Portfolio Manager, a window will appear stating that the property is unknown.
- Click OK to continue. *Note: If you believe that the facility exists in Portfolio Manager, please contact Client Services for assistance.
-
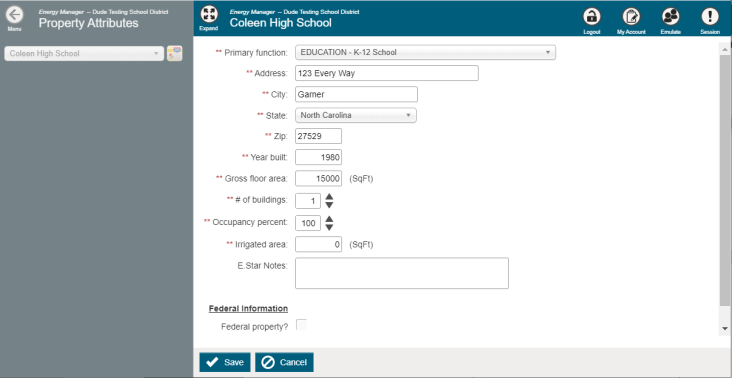
Enter the attributes for the facility.
-
The Address, City, State, Zip, Year Built, and Gross floor area will automatically populate if they were previously entered for the Facility.
-
Complete the remaining fields as needed. *Note: Required fields are marked with asterisks (**).
-
-
Click Save.
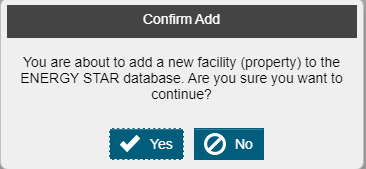
- Click Yes to add the facility to the ENERGY STAR database.
The primary functions found on the Property Attributes tab correspond to the ENERGY STAR property types. Only certain property types are eligible to receive a 1-100 score. You must have the correct primary function selected for your facility in order for it to be considered for an ENERGY STAR score.
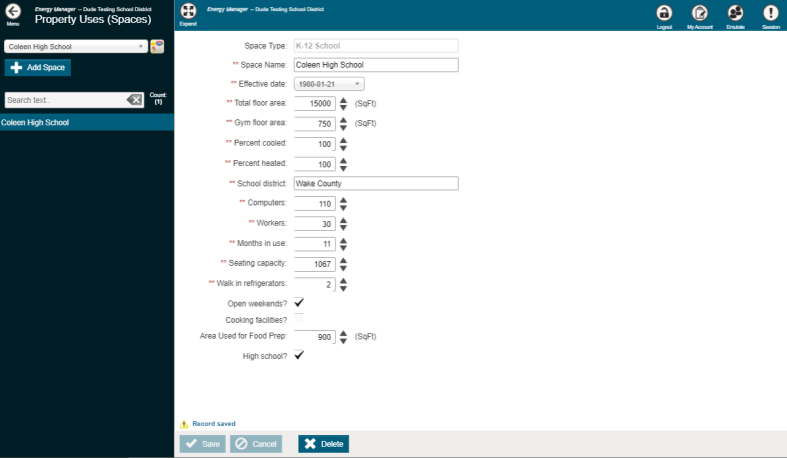
Property Uses (Spaces)
A facility must have at least one Space Type to receive a valid ENERGY STAR score.
- Select Energy Star from the navigation menu.
- Click on Property Uses (Spaces).
- From the drop-down menu, select the Facility that you want to send to Portfolio Manager to be scored.
- Click Add Space.
- Select the Space Type from the drop-down menu.
- Enter a Space Name and Effective date for the facility.
- Complete the remaining fields for the facility as needed. *Note: Required fields are marked with asterisks (**) and will vary depending on the Space Type selected.
- Click Save.
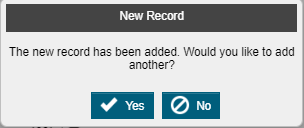
- In the window that appears, click Yes if you would like to add another space, otherwise click No to close the window and return to the Property Uses (Spaces) page.